Mobile App
Start installment plans quickly using our mobile app (iOS or Android), which enables you to share a checkout form with your shopper by email, SMS, QR Code or URL.
Login
- After you have installed either the iOS or Android app to your device, open the app and click Sign In.
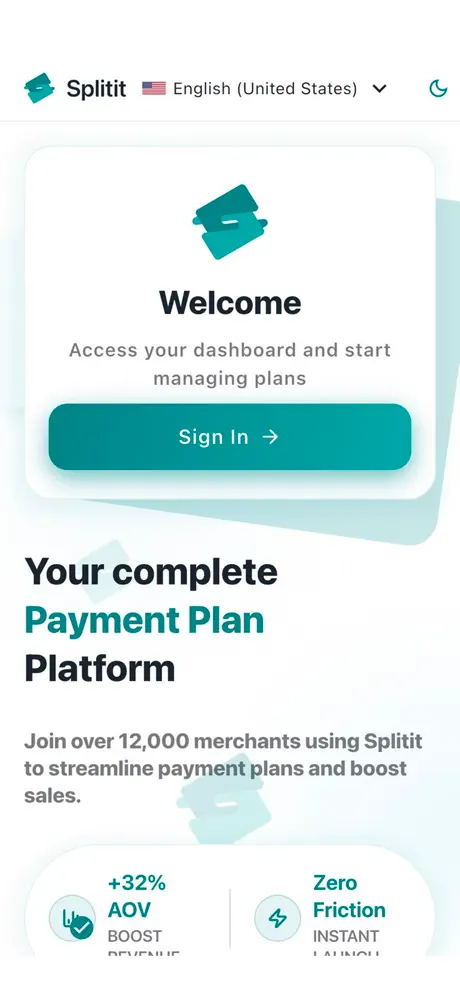
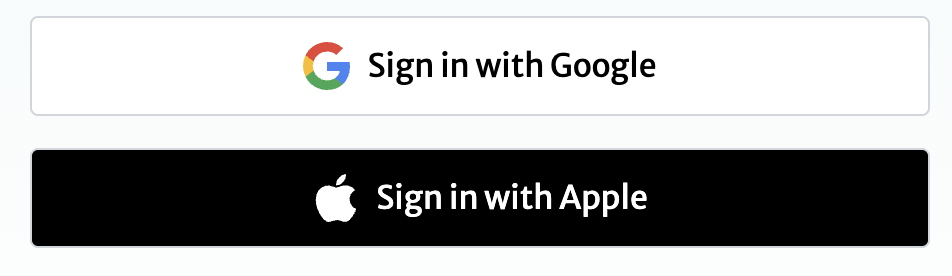
You will be taken to a Login screen, where you can enter your email and password, use a passkey, or use your Google/Apple account to login.
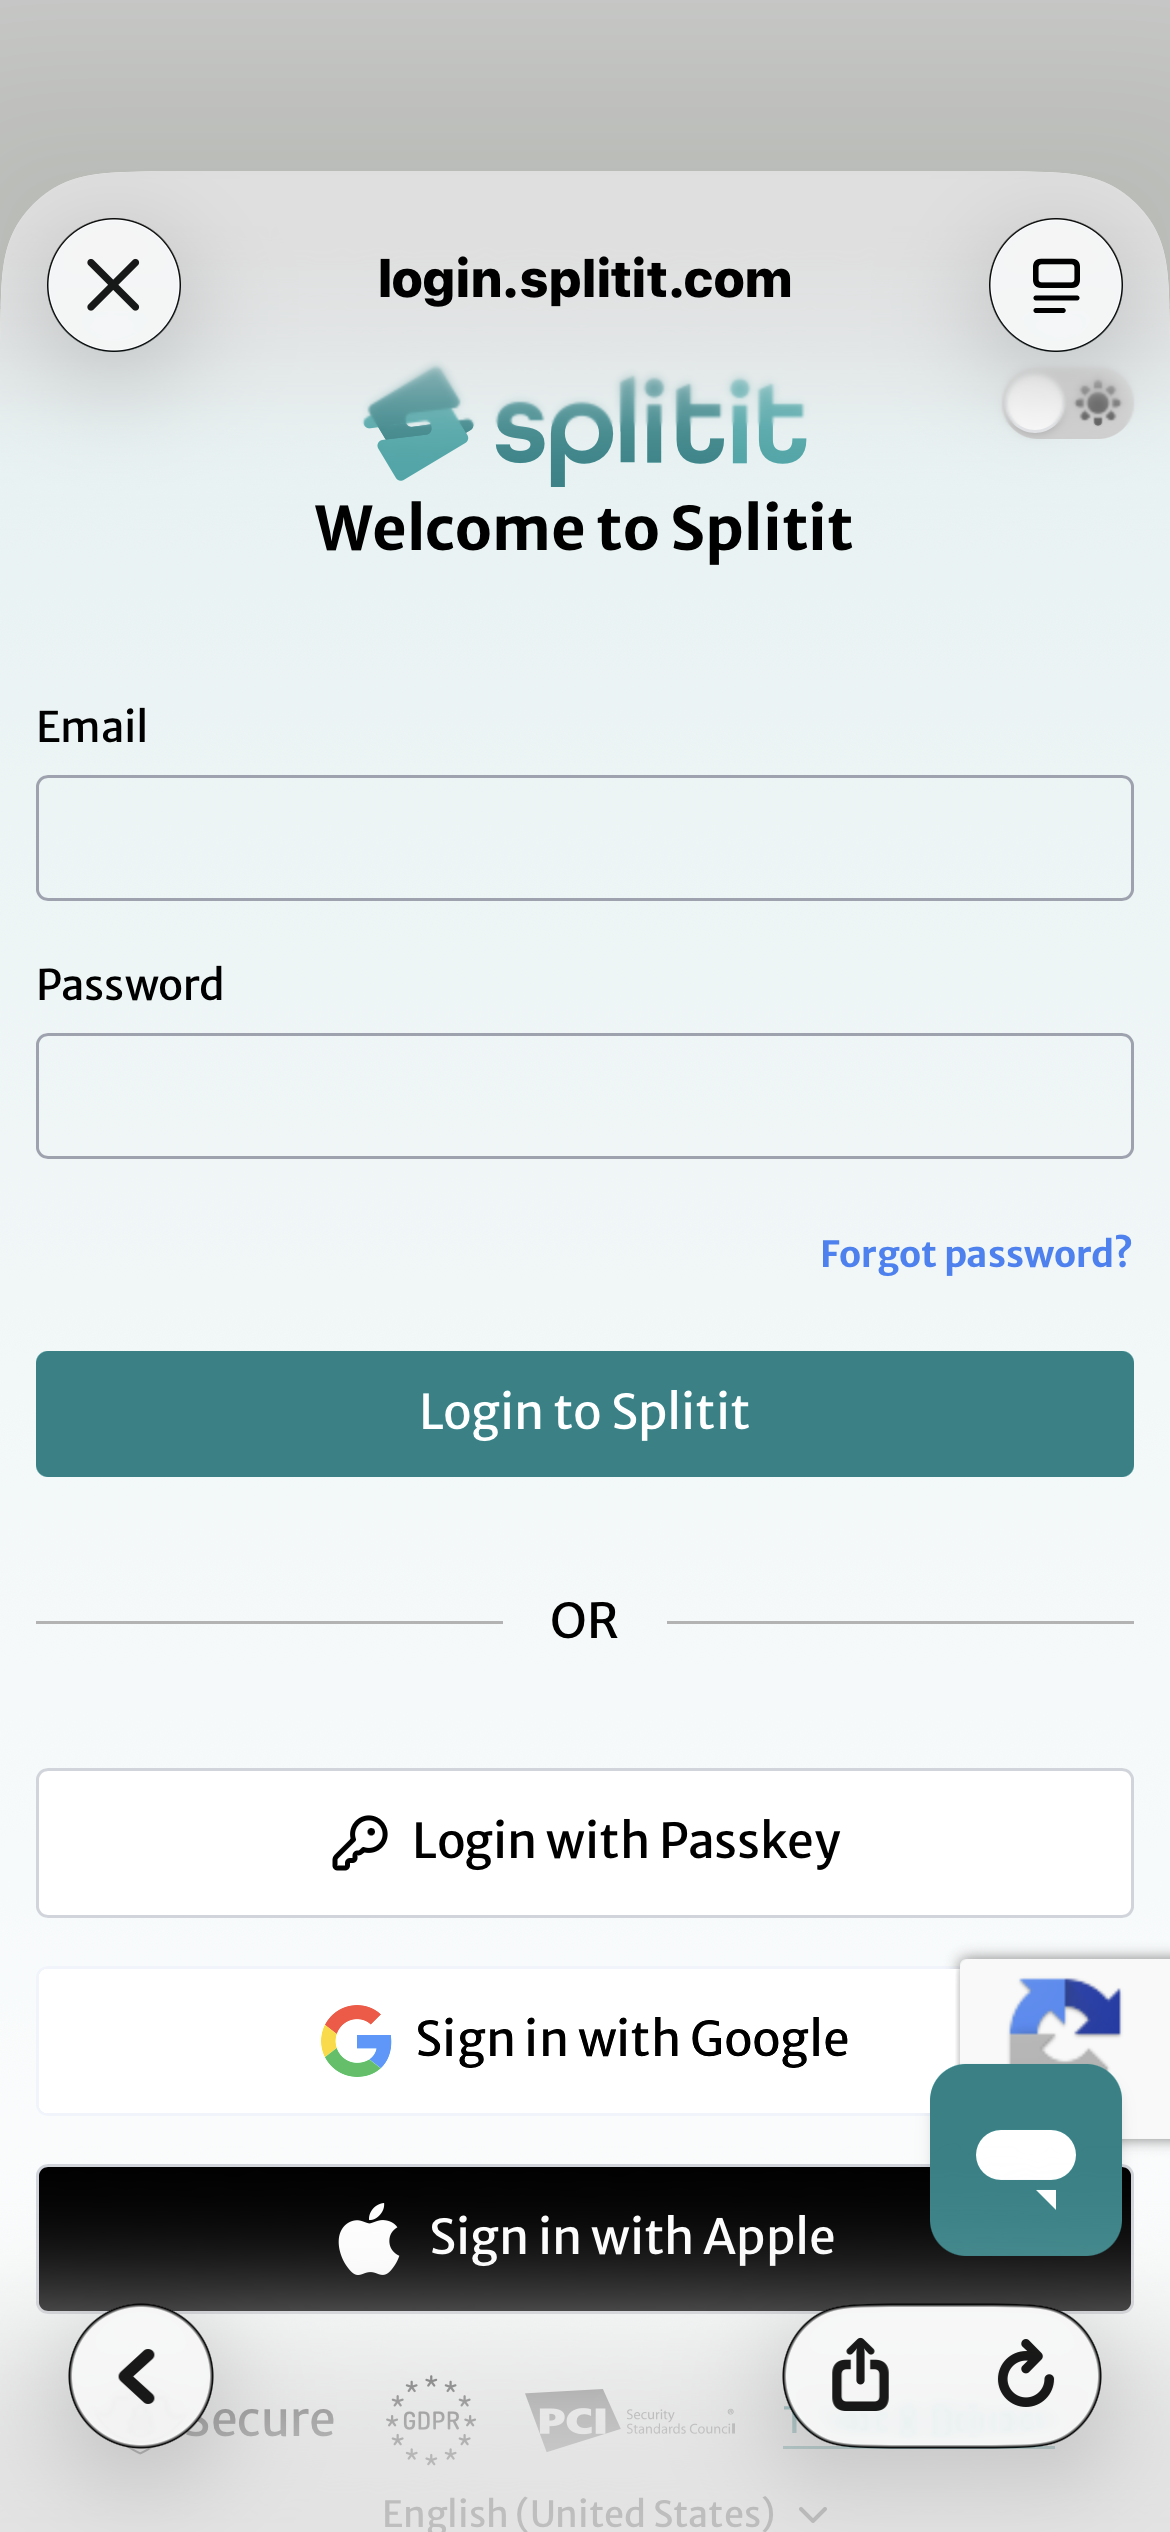
- Login with Email and Password
- Login with a Passkey
- Login with Google or Apple
You should have obtained a username and temporary password via email from Splitit in order to login. If this is the first time you are logging in, you will be asked to reset your password. If you have not yet received this information, please reach out to support@splitit.com.
Resetting Your Password
If you forget your username and/or password, follow the steps below:
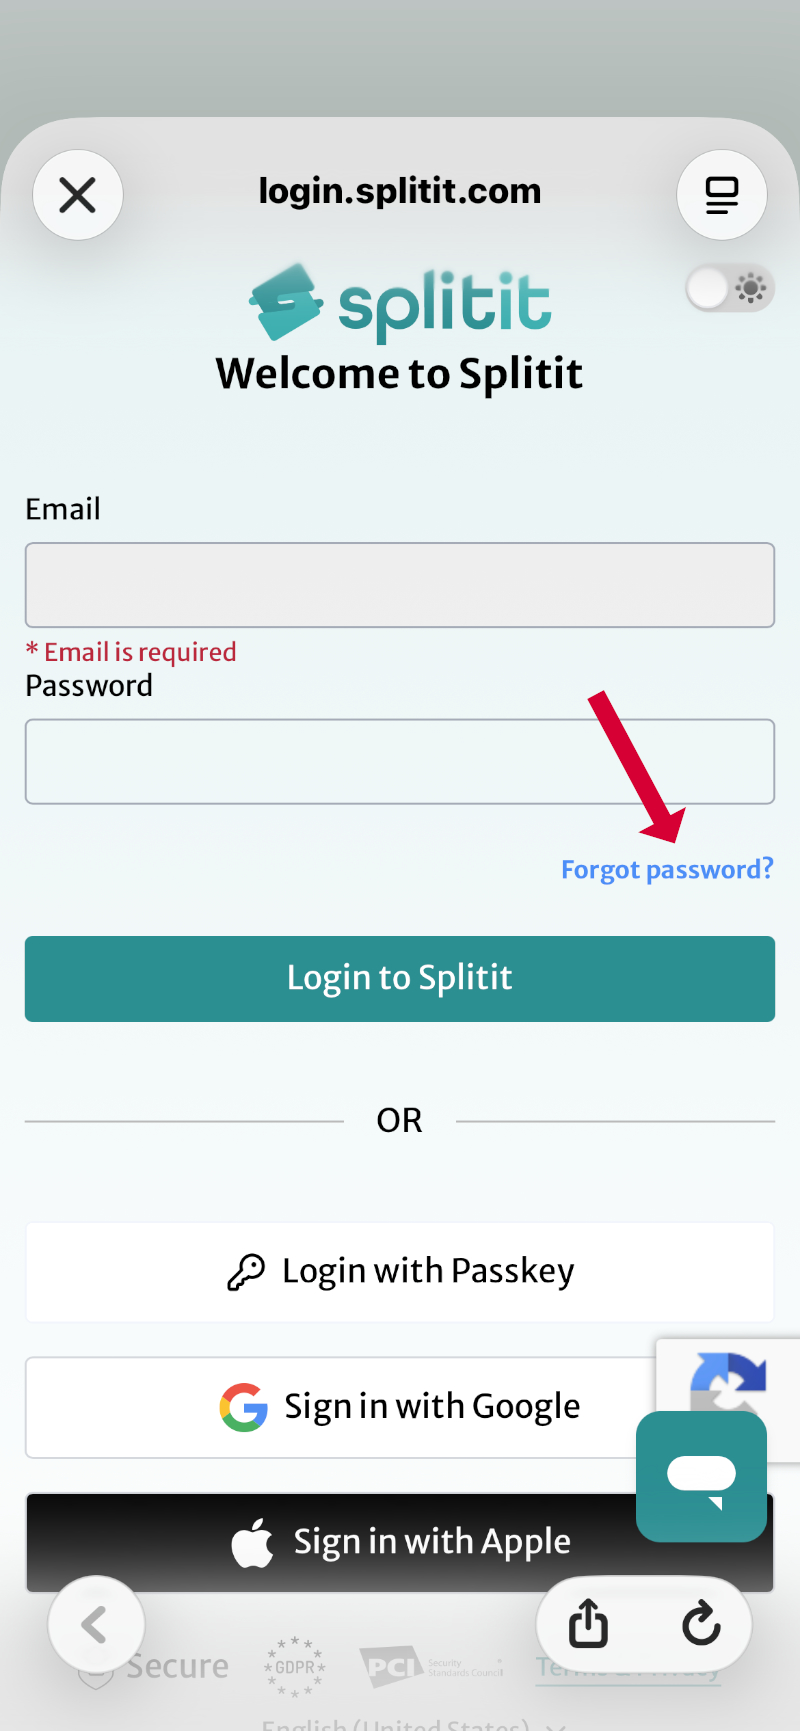
Step 1: Click the Forgot password? link at middle right of the login page:
Step 2: Enter your email address and click Reset Password. If your email is in the system, you will be sent a reset email.
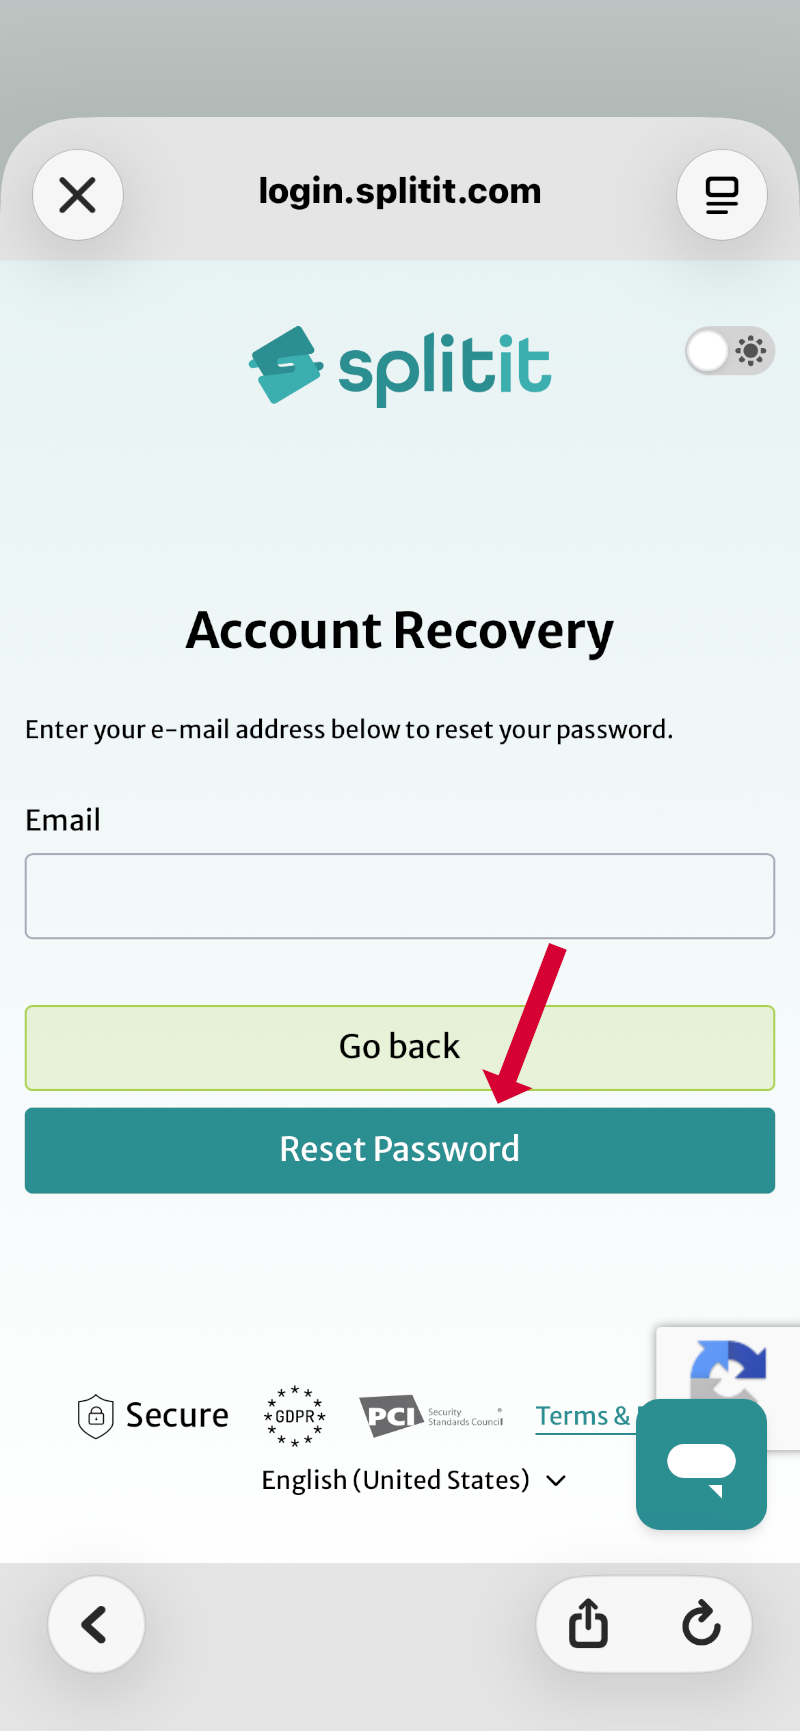
Step 3: Click the Reset my password link in the email you receive.
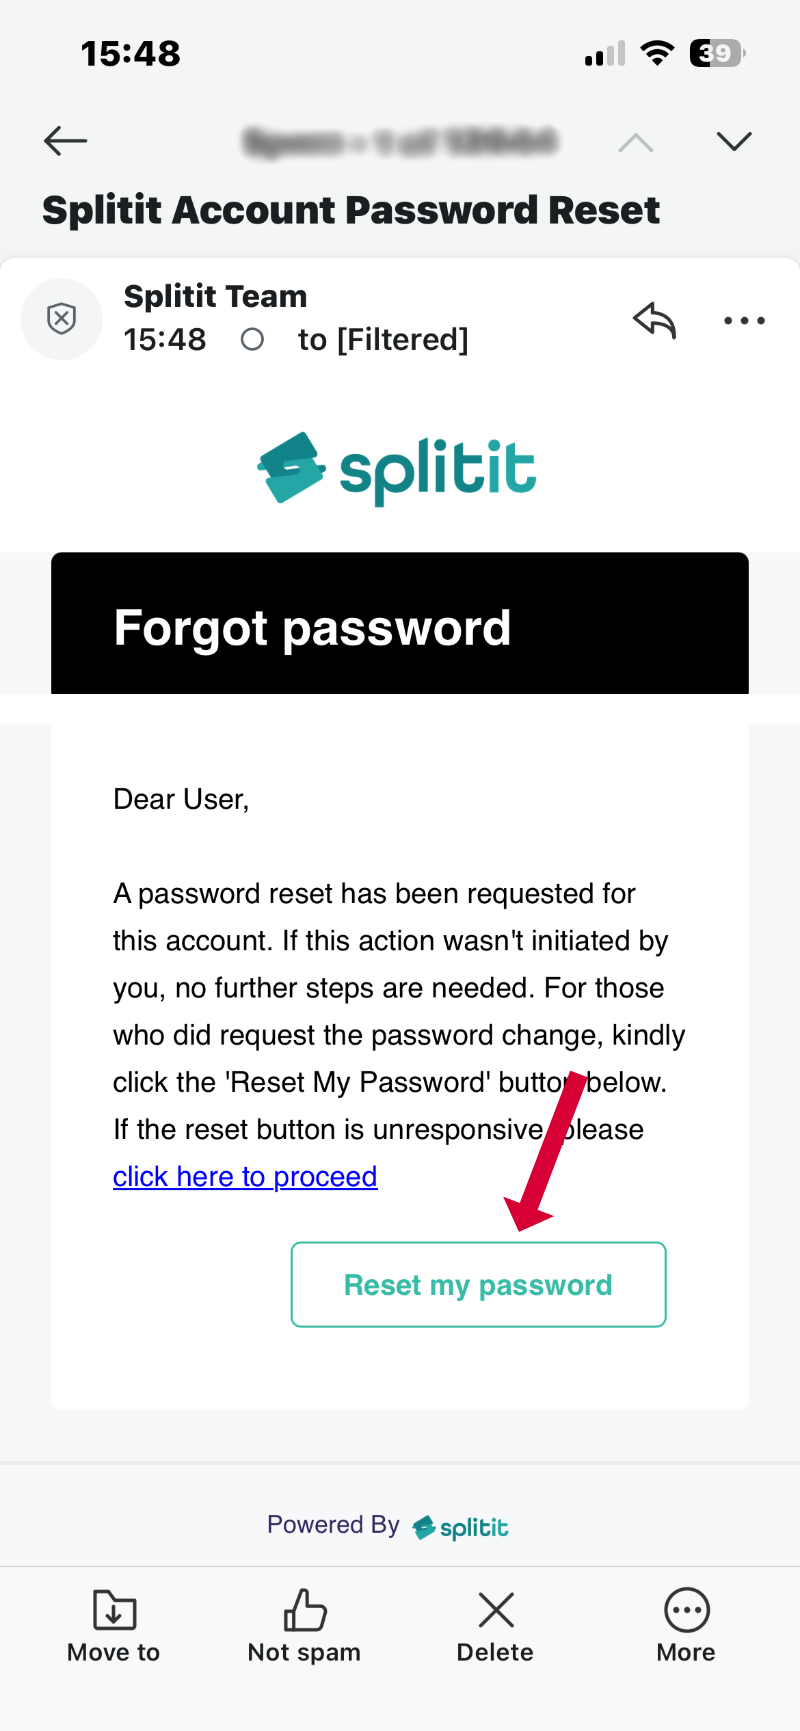
Step 4: Update your password according to the requirements and click Save.

Step 5: Return to the Go app to login.
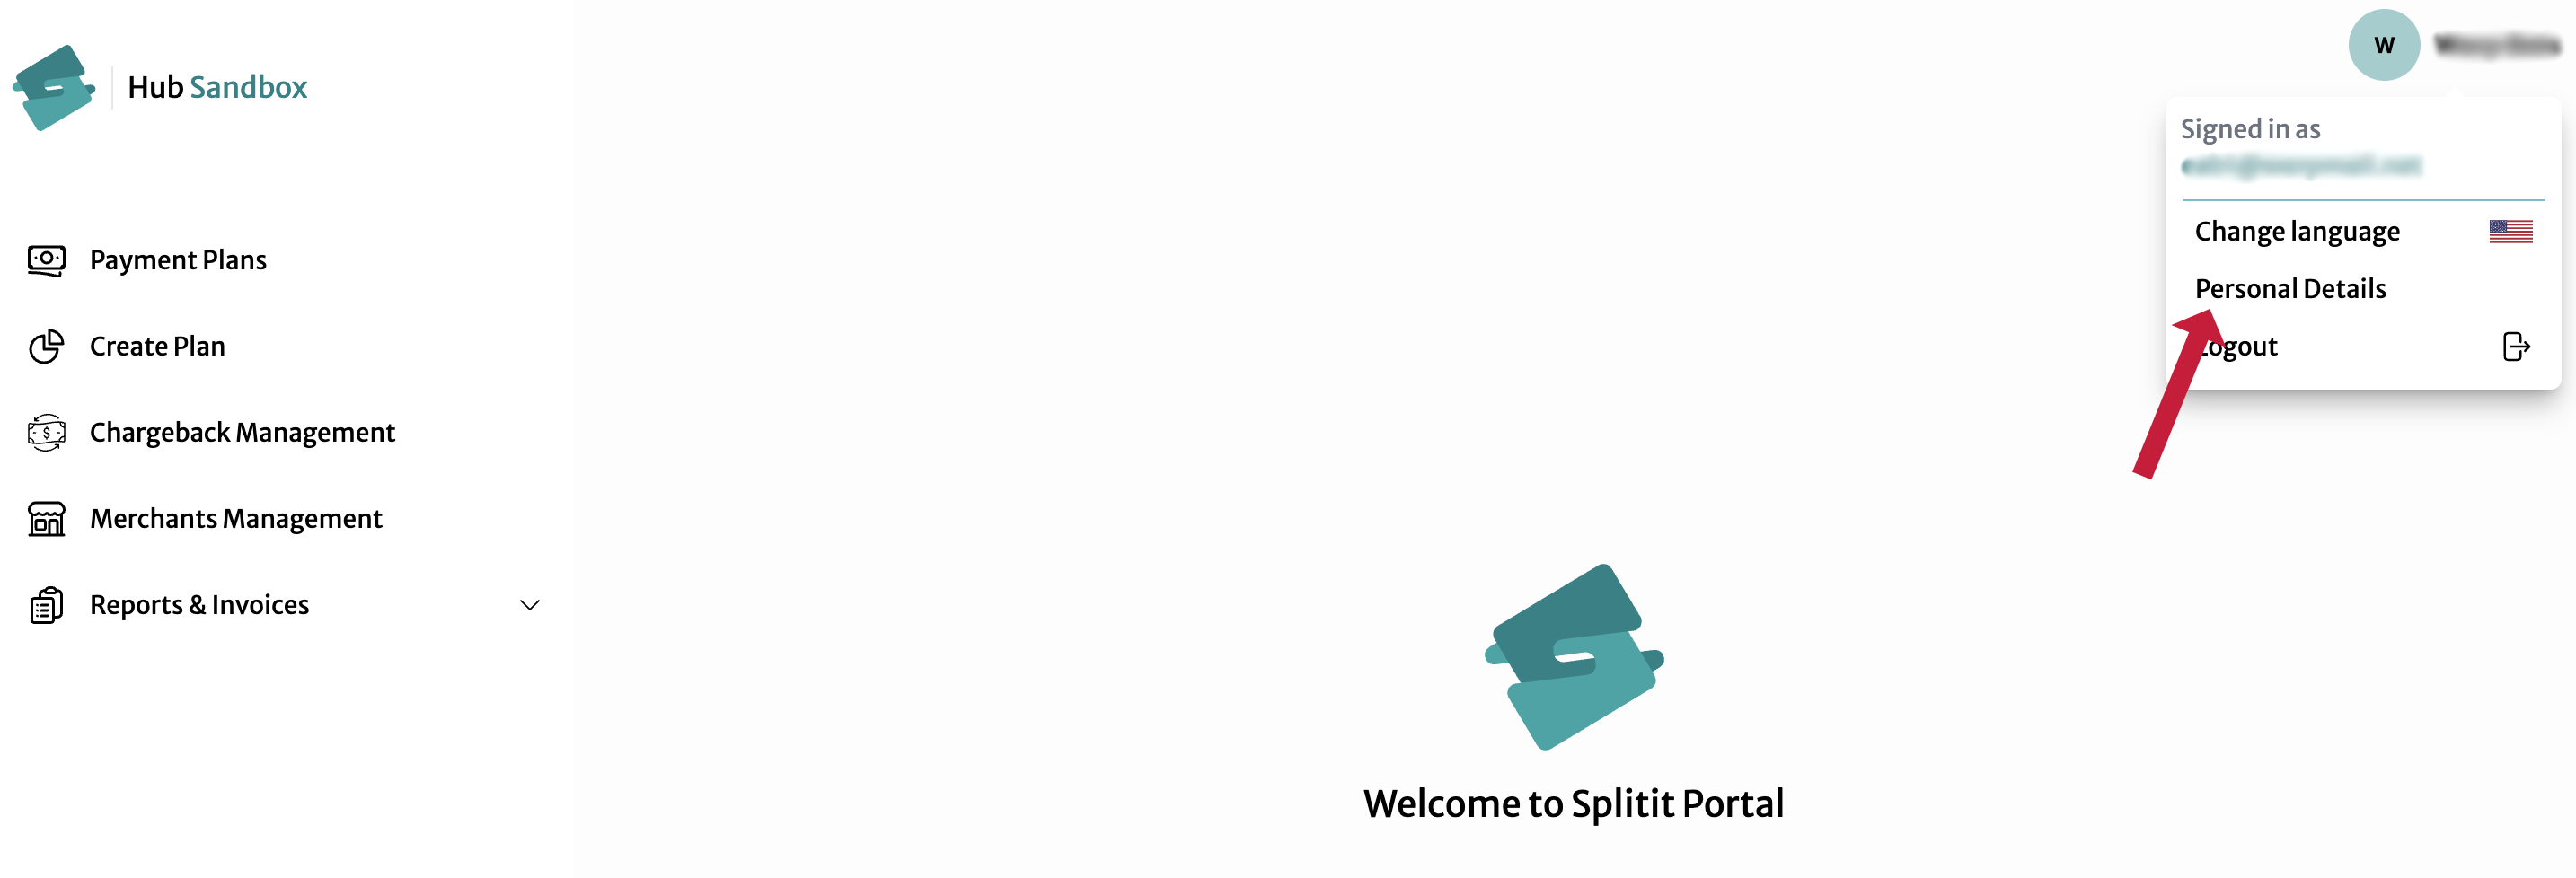
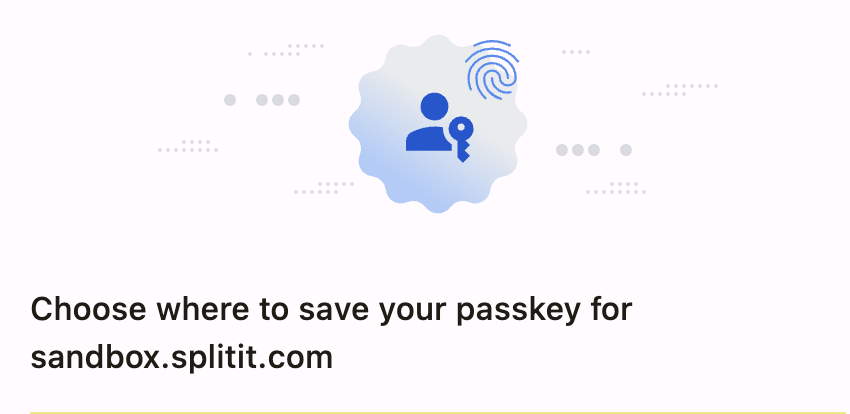
To use a passkey for login, you will need to set one up in the Splitit Hub portal (you must leave the Splitit Go app and go to the Hub in a browser). While at the Hub, first you need to login with another method, then you will be able to set up a passkey in your account.
- Login into your Hub account using email and password or Google/Apple authentication, then go to Personal Details on the dropdown menu under your Account ID icon:
- Next click Create New Passkey:
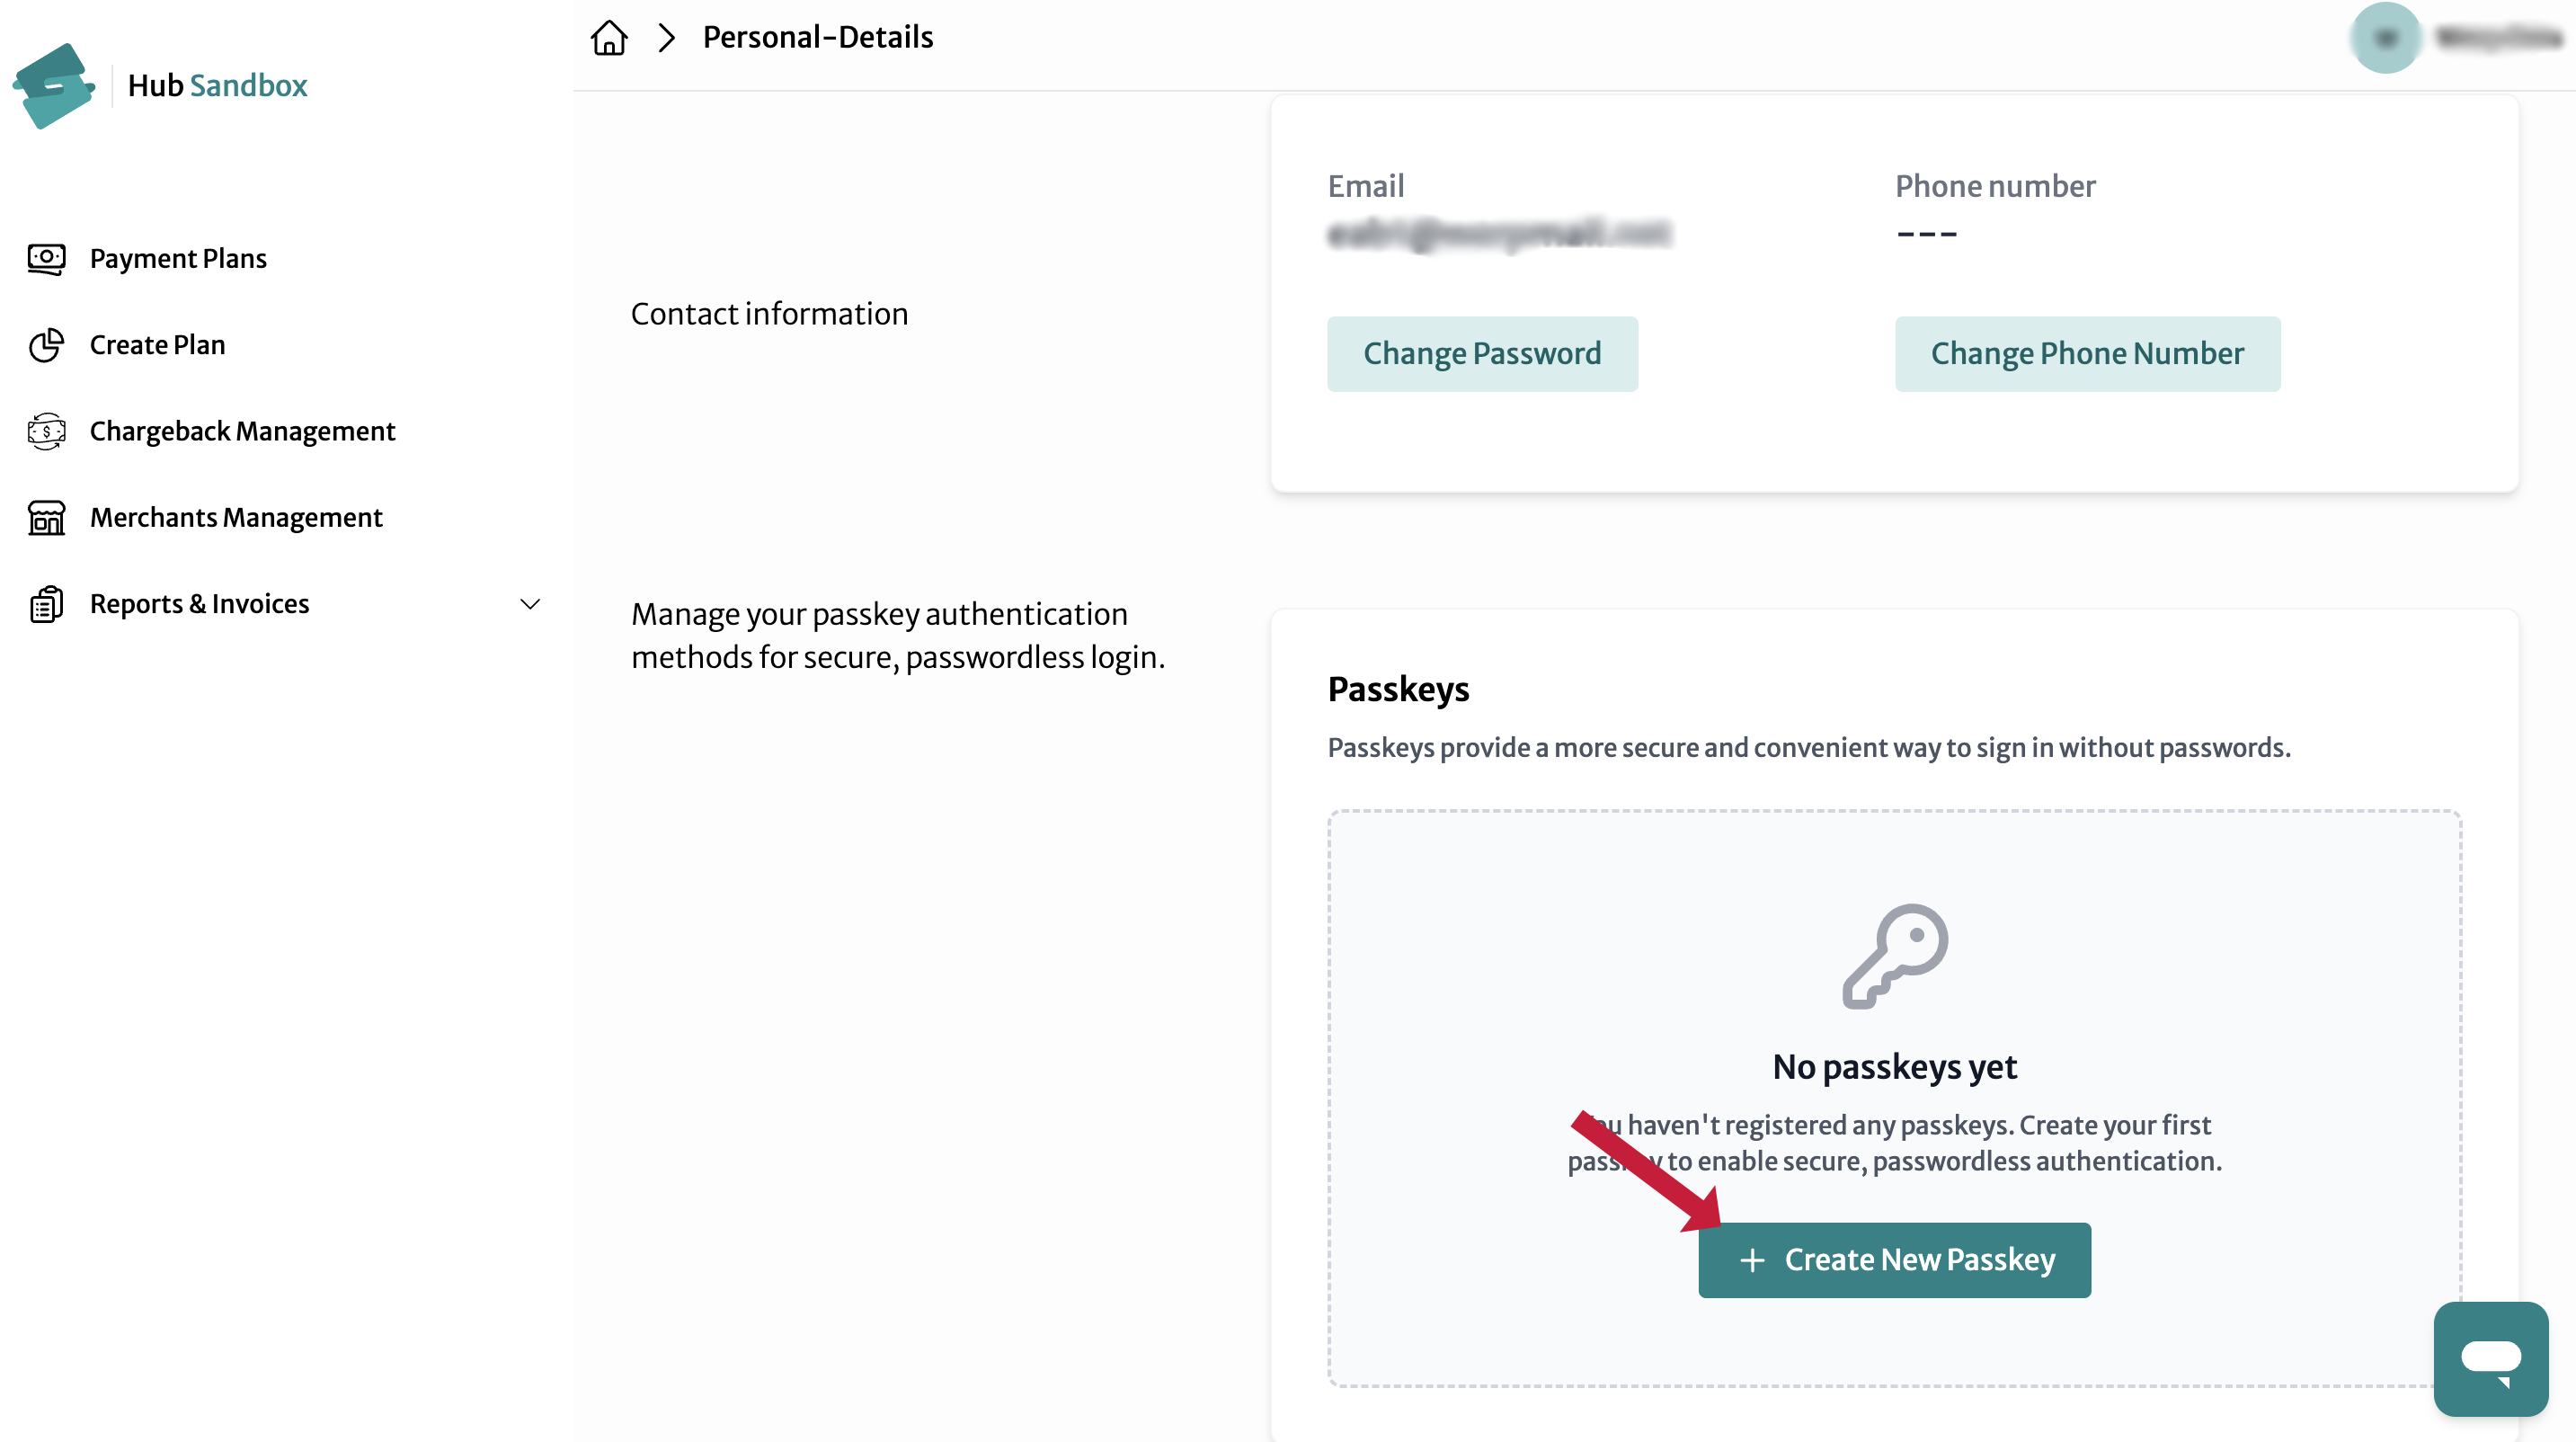
- Select where you'd like to save your passkey, e.g., in a browser, in iCloud Keychain, on another device, etc.:
- Once successfully saved, you will be able to use your passkey in your Go account the next time you login.
Click the appropriate button to be redirected to Google or Apple, respectively.
Creating Installment Plans
Set up payments while you interact with your shopper in person or on the phone.
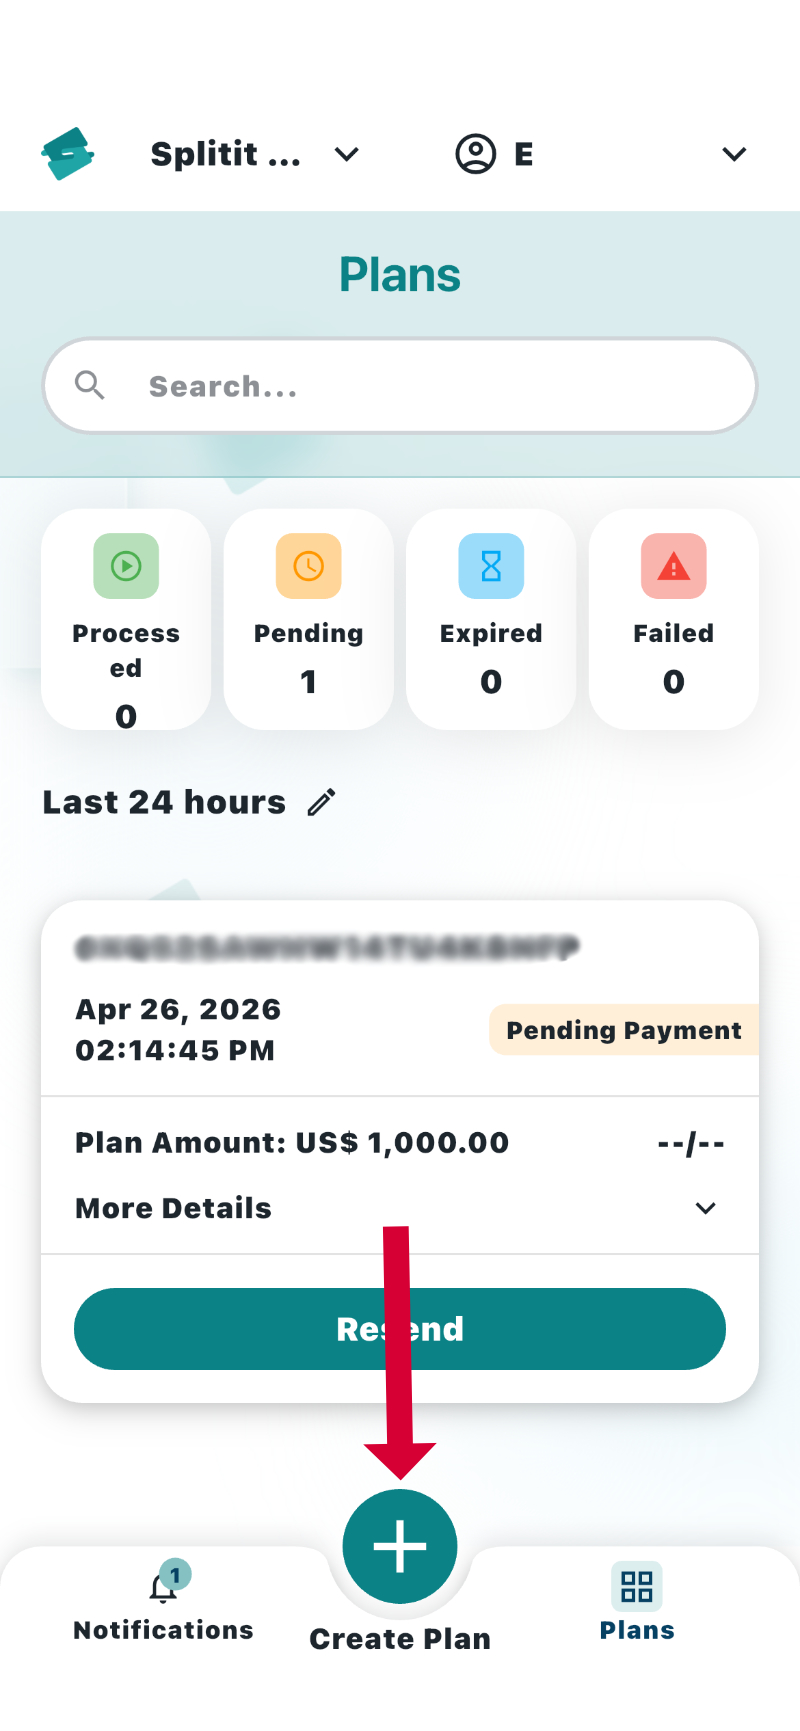
- Click the Create Plan (+) button at the bottom of any screen.
- Select a currency (if applicable), enter an amount for your plan, and select a submerchant account (if applicable).
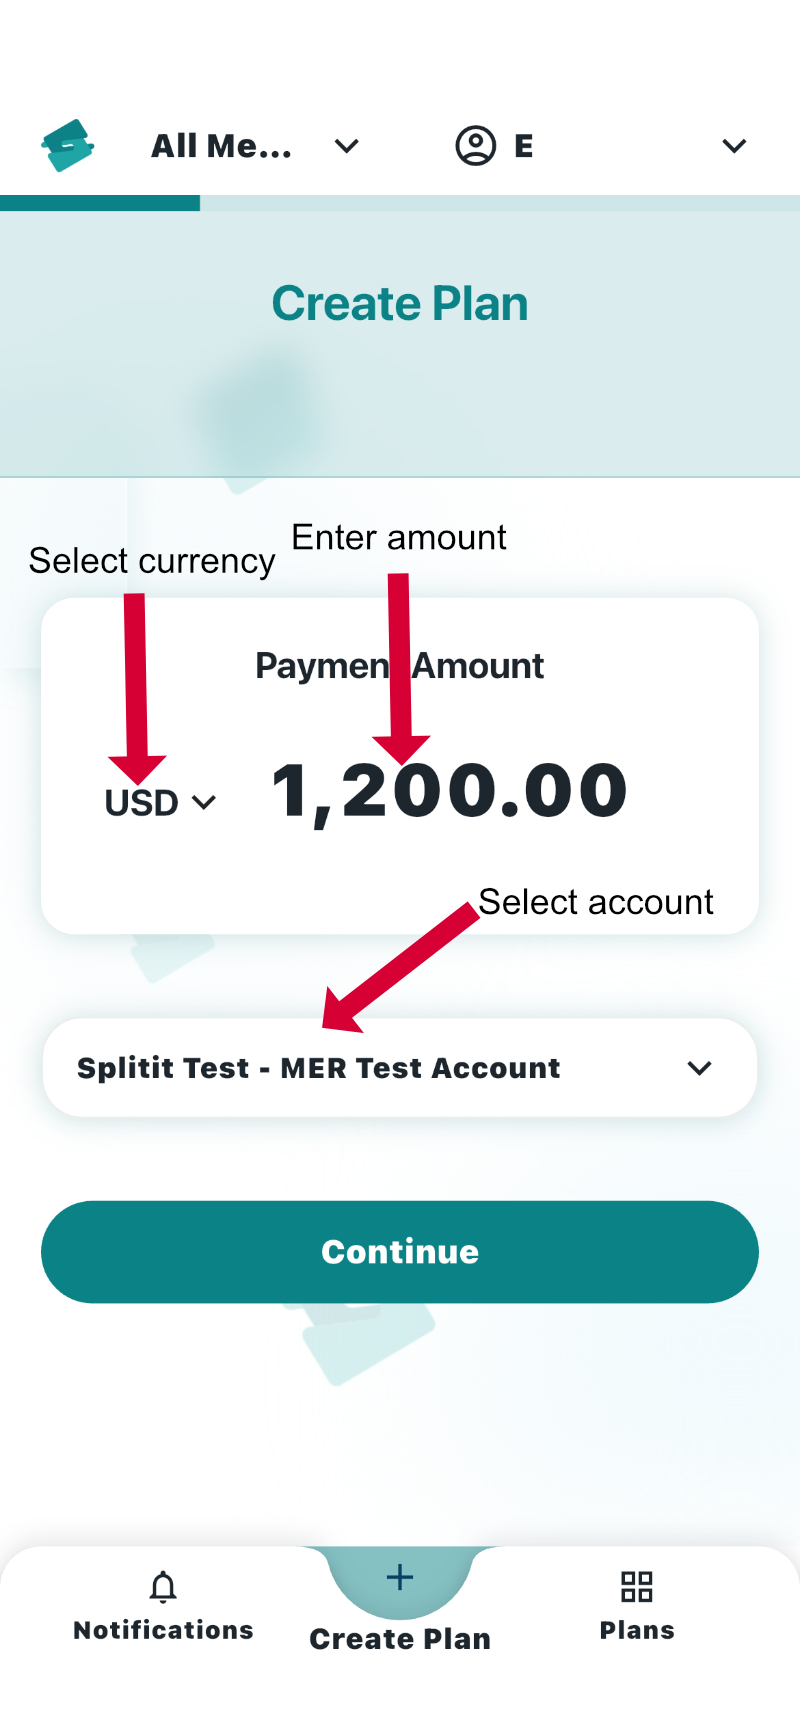
Click Continue.
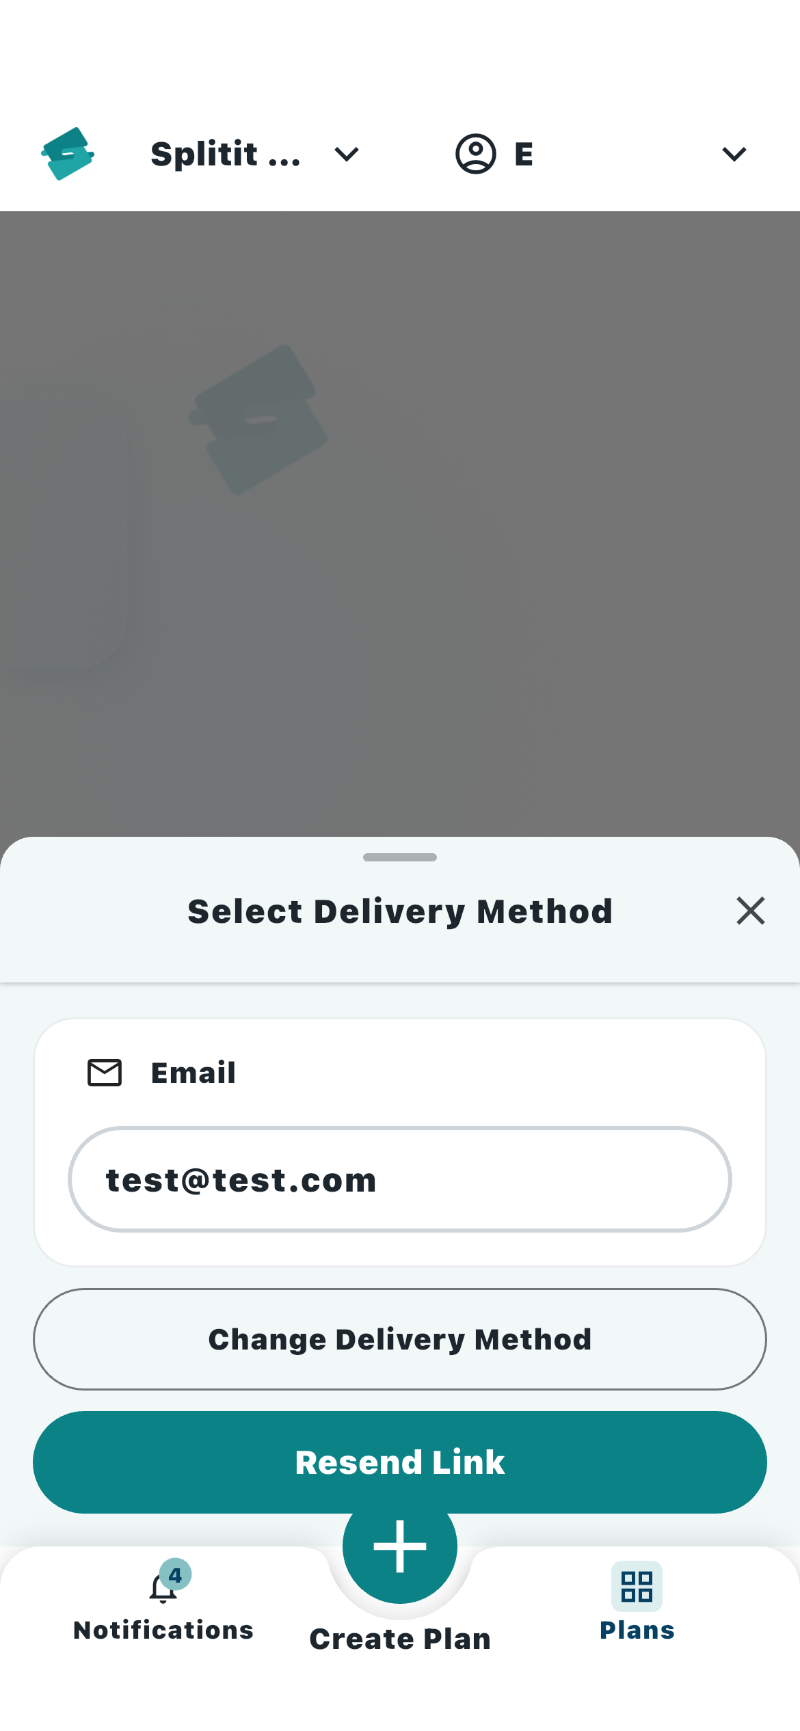
- On the next screen, choose a method for sharing the plan with your shopper, either email, QR code, or SMS:
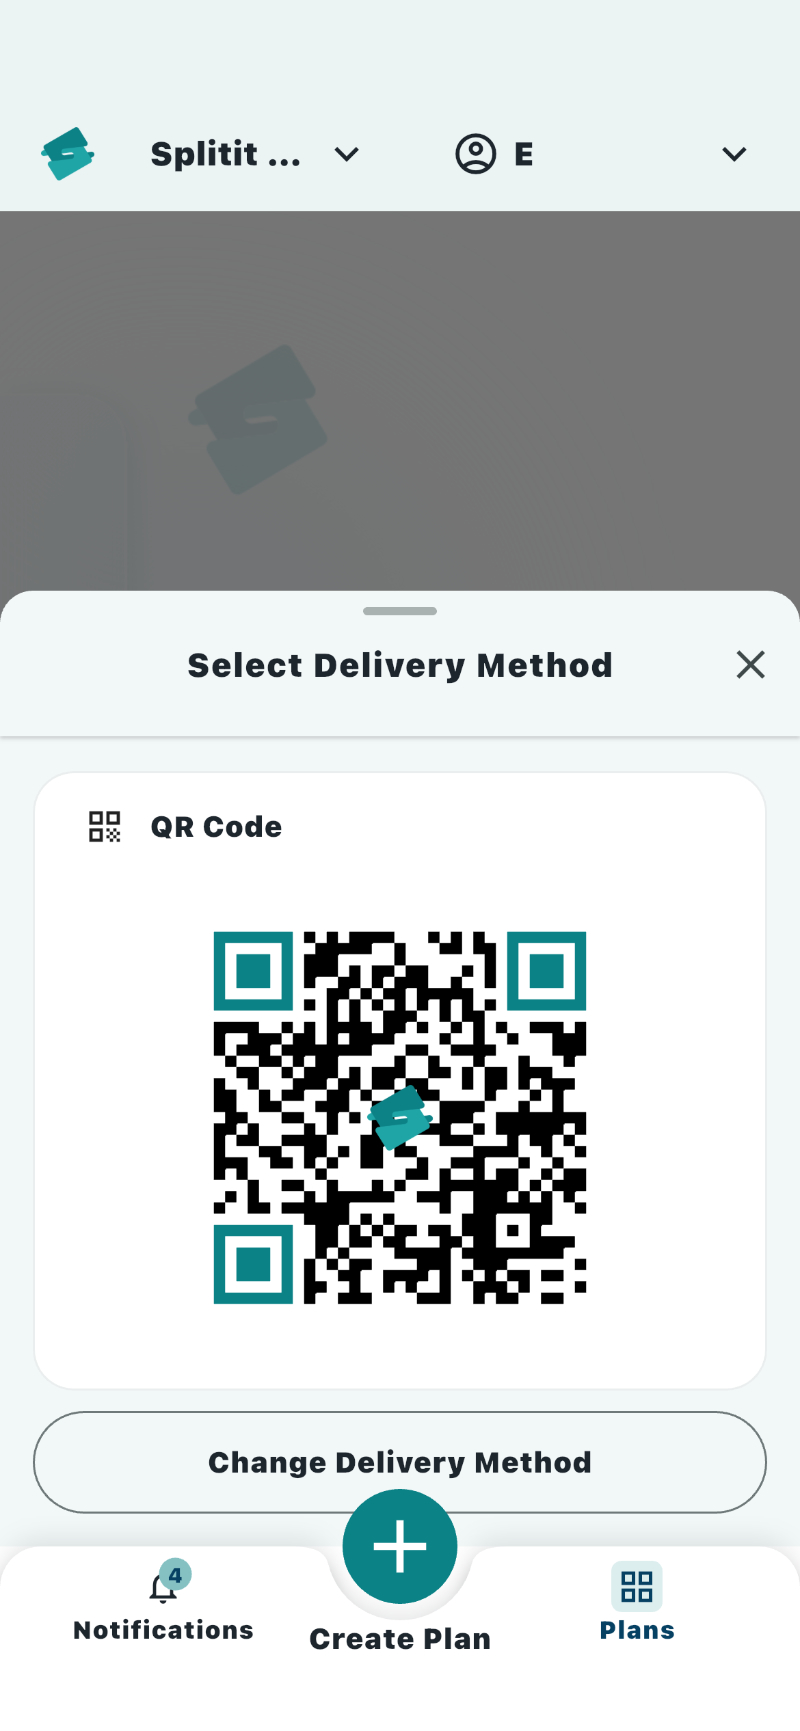
- QR Code
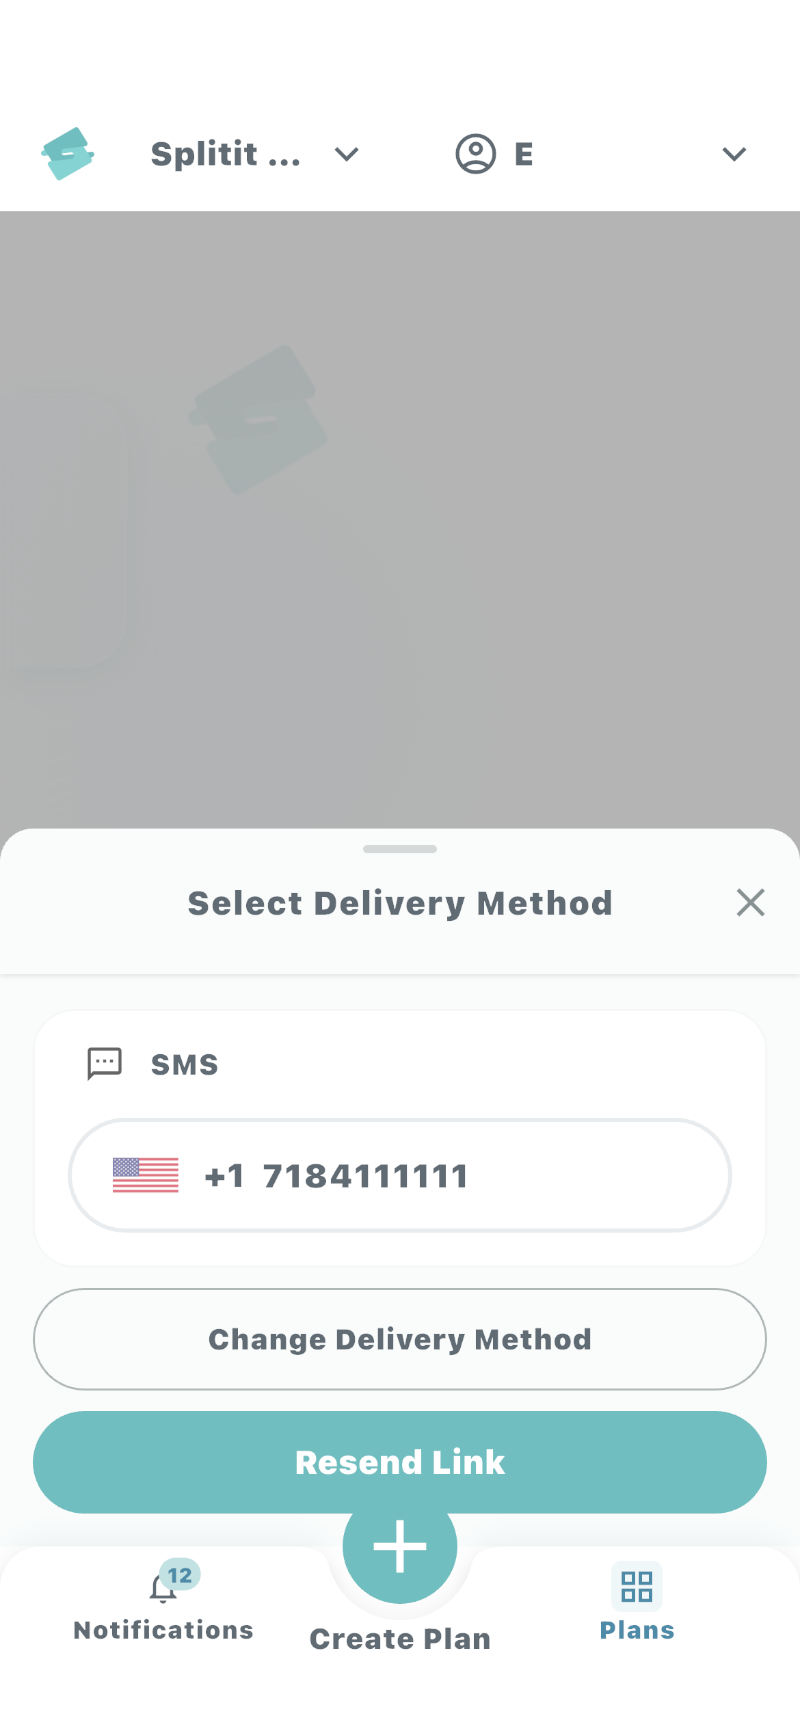
- SMS
Click on Email and a blank will open directly below.
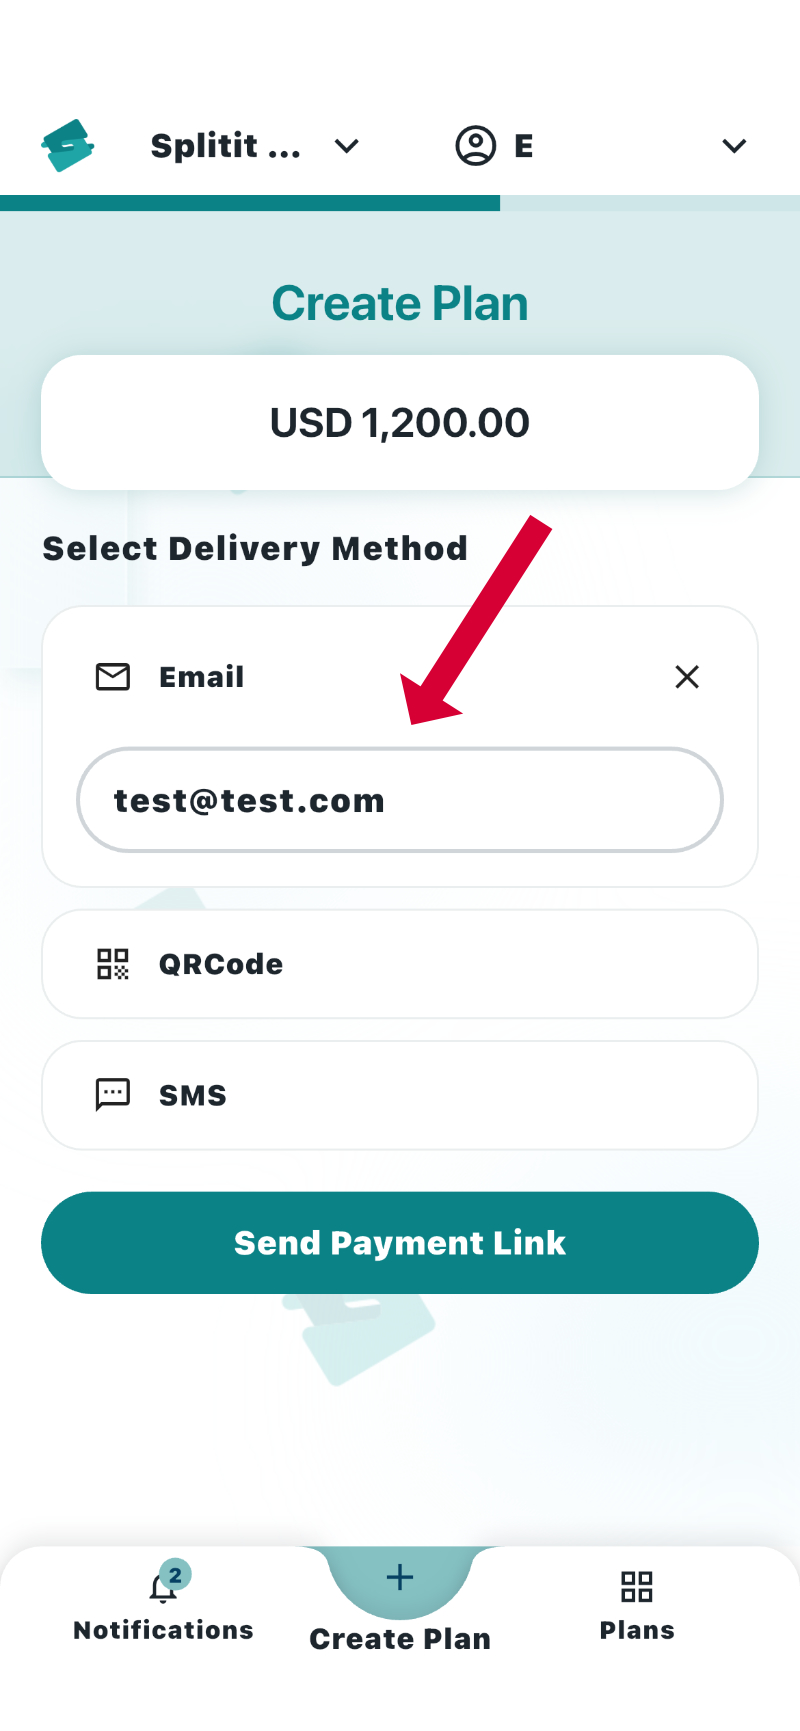
- Enter your desired email then click Send Payment Link.
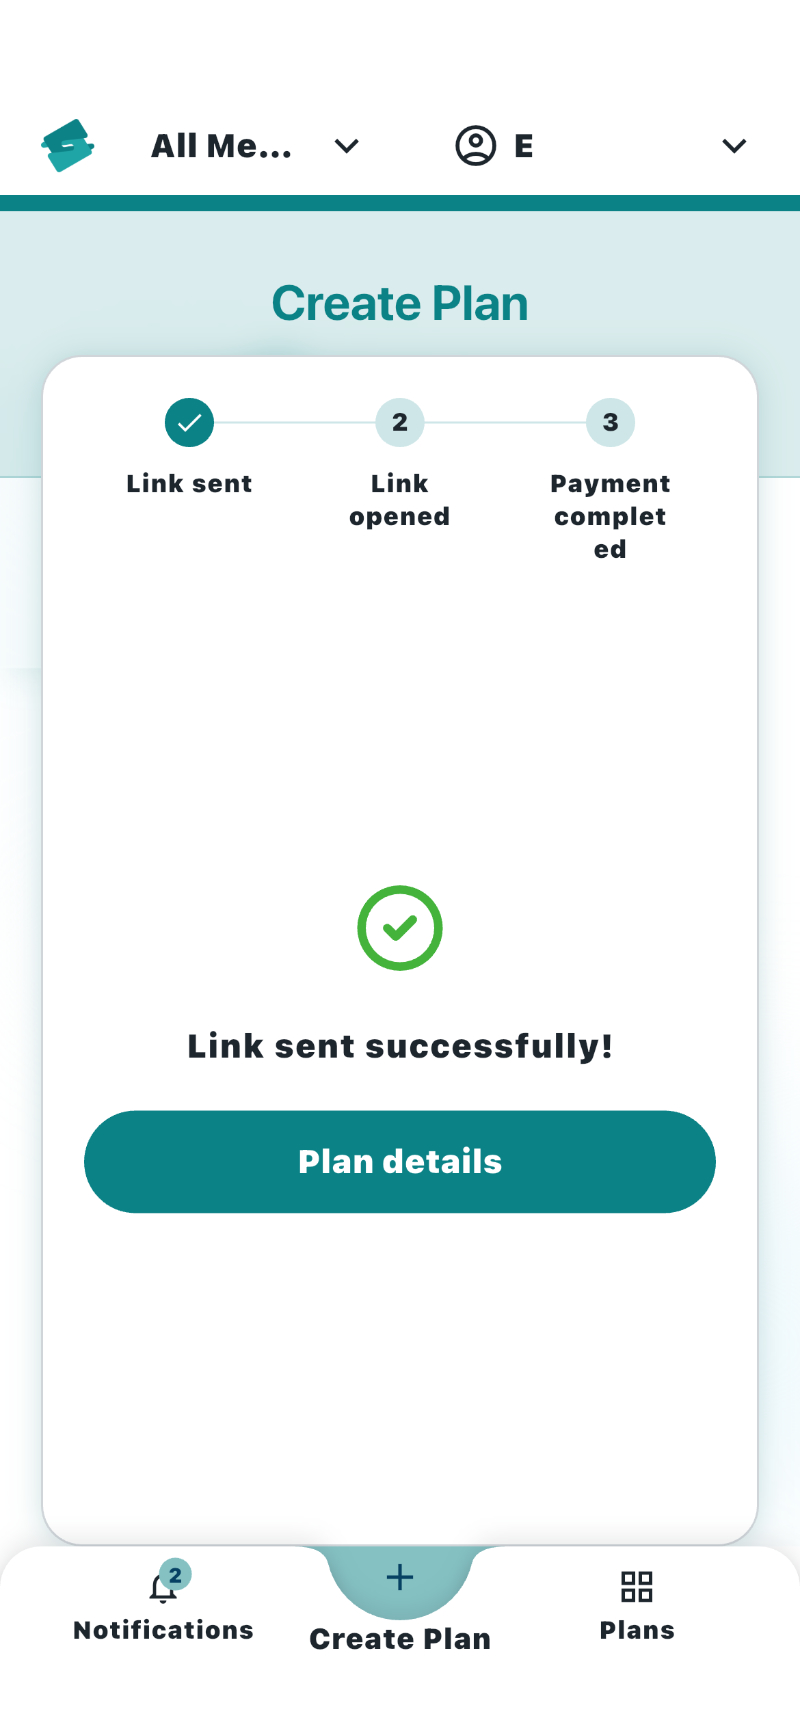
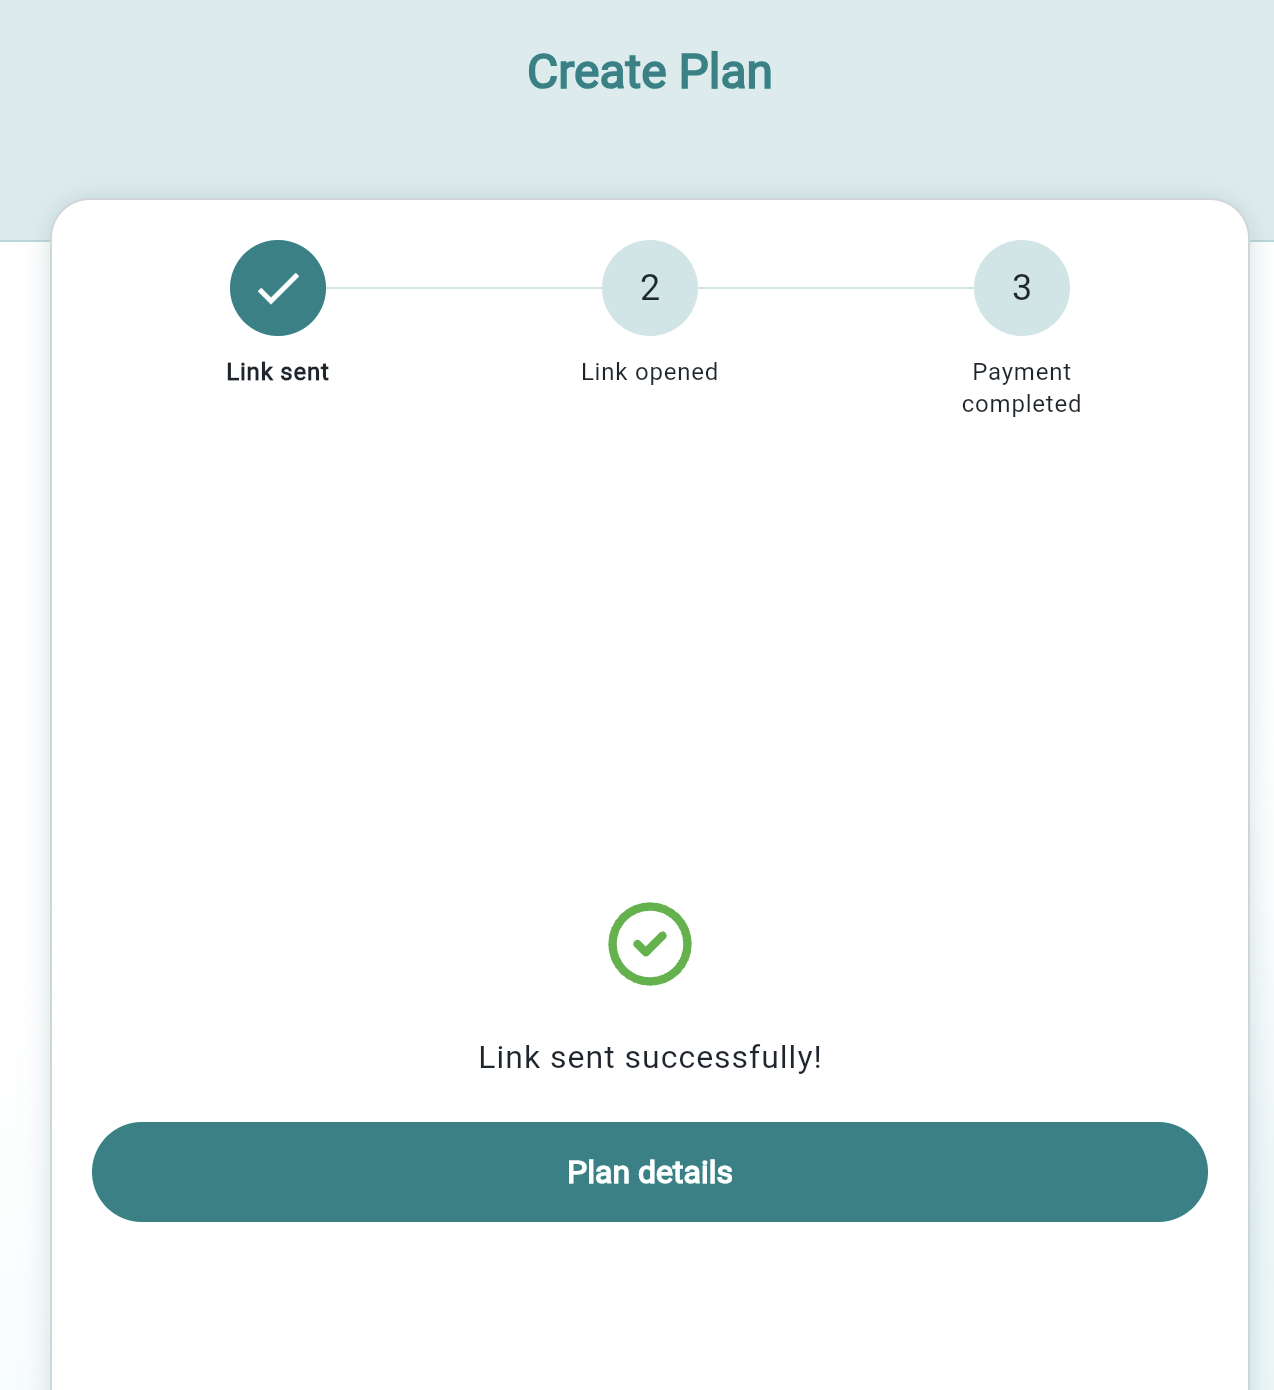
You will be taken to a success page:
QR Codes are particularly useful for face-to-face interactions, enabling a shopper to scan a code from you.
Click on QR Code and your code will appear directly below.
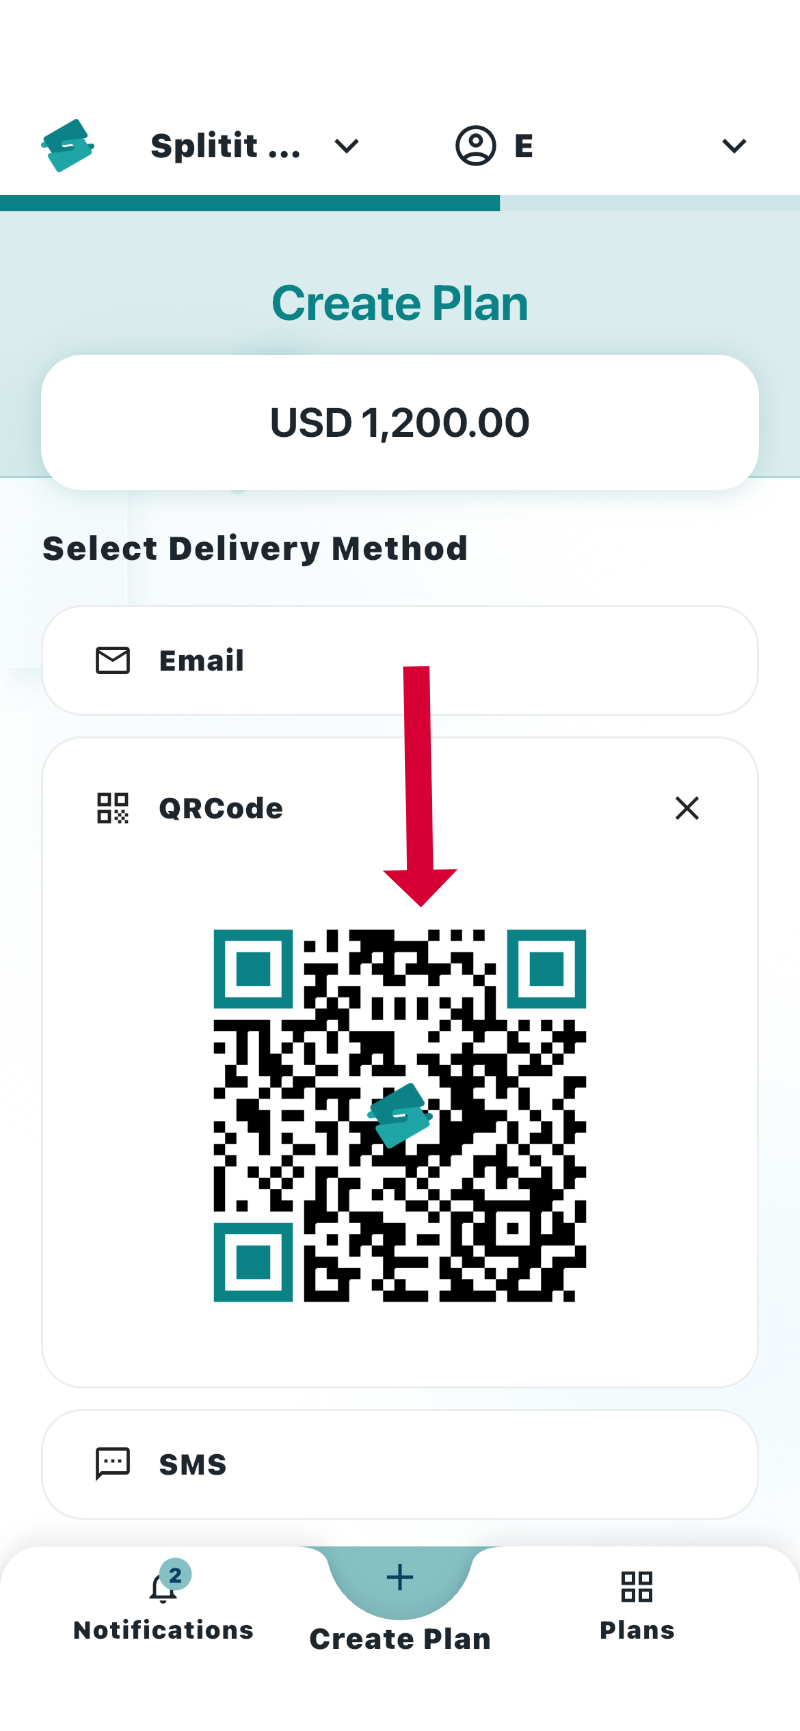
- Have your shopper scan the QR code, which will bring them to a form to checkout.
Click on SMS and a blank will open directly below.
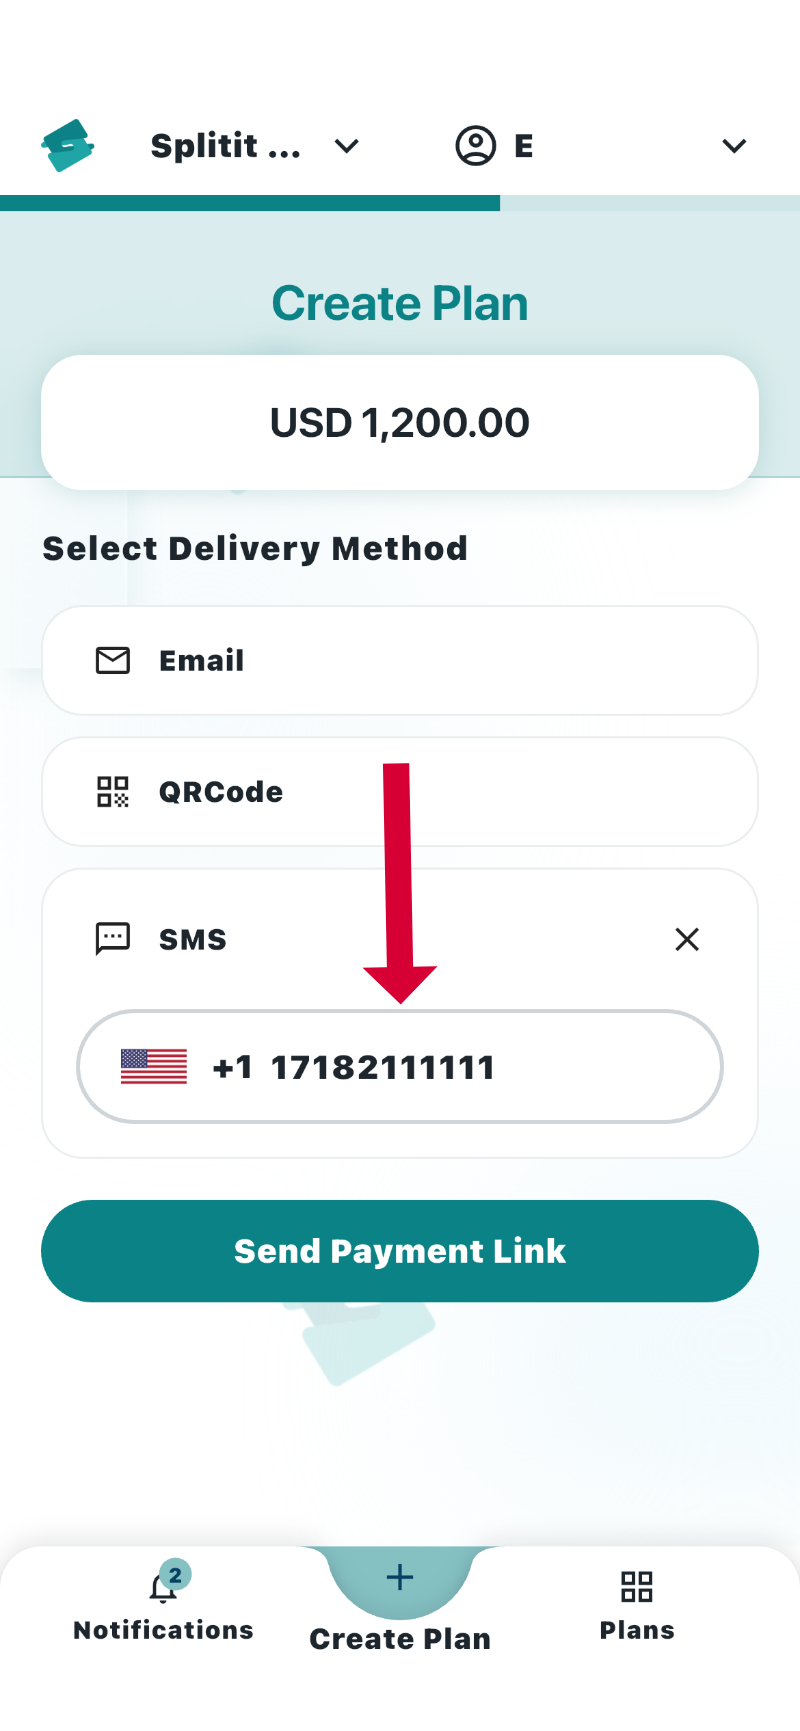
- Enter your desired phone number then click Send Payment Link.
You will be taken to a success page.
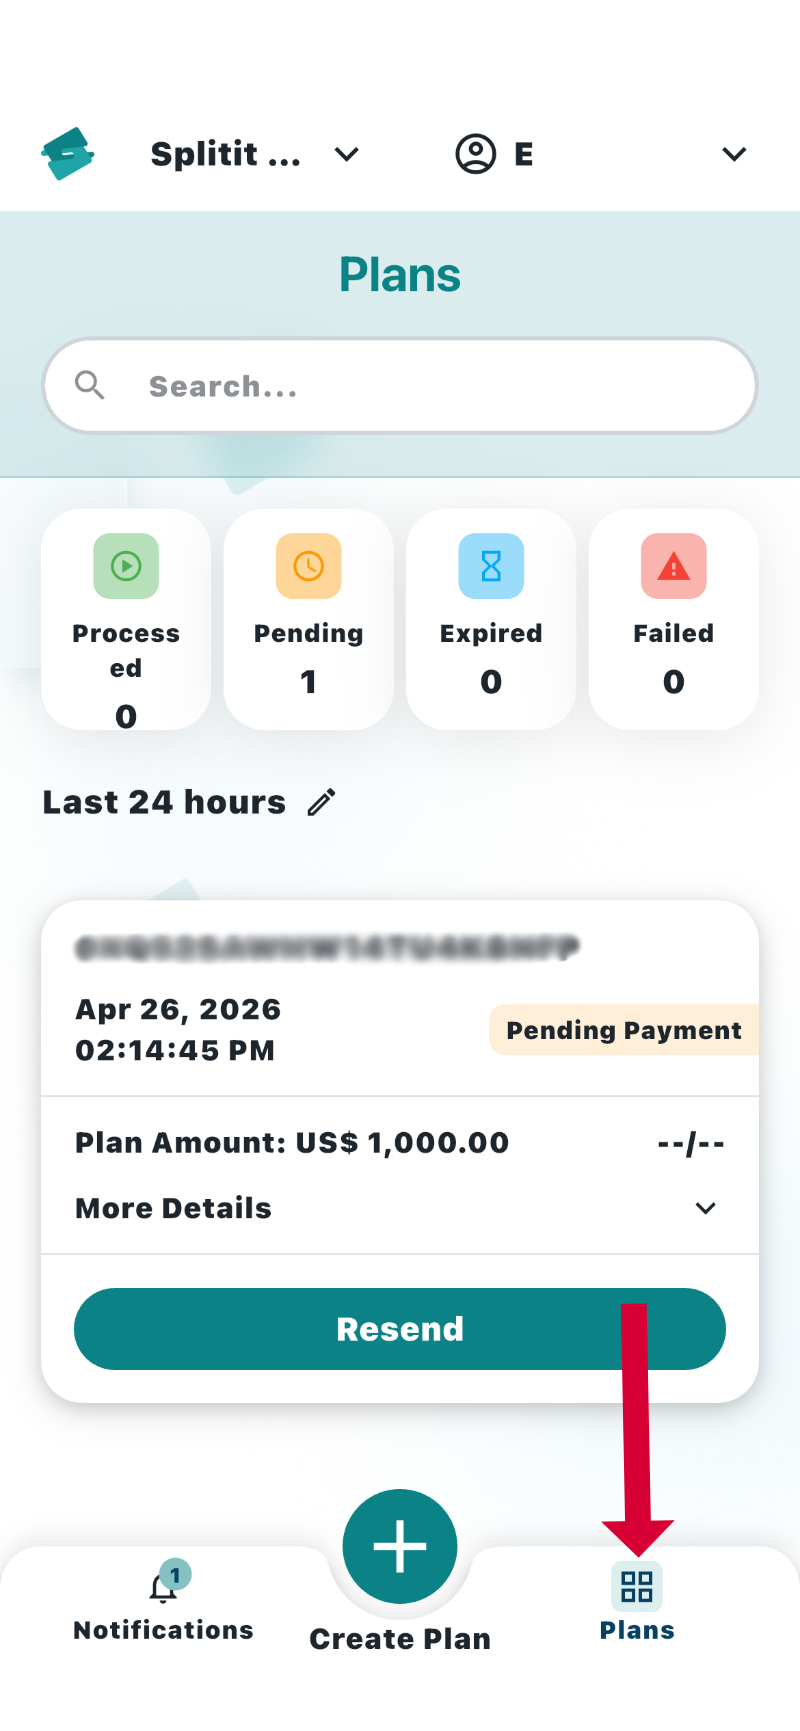
Managing Installment Plans (Home)
The Plans Management page is the default page when you open the app. You can also reach it by clicking the Plans tab at the lower right of your screen:
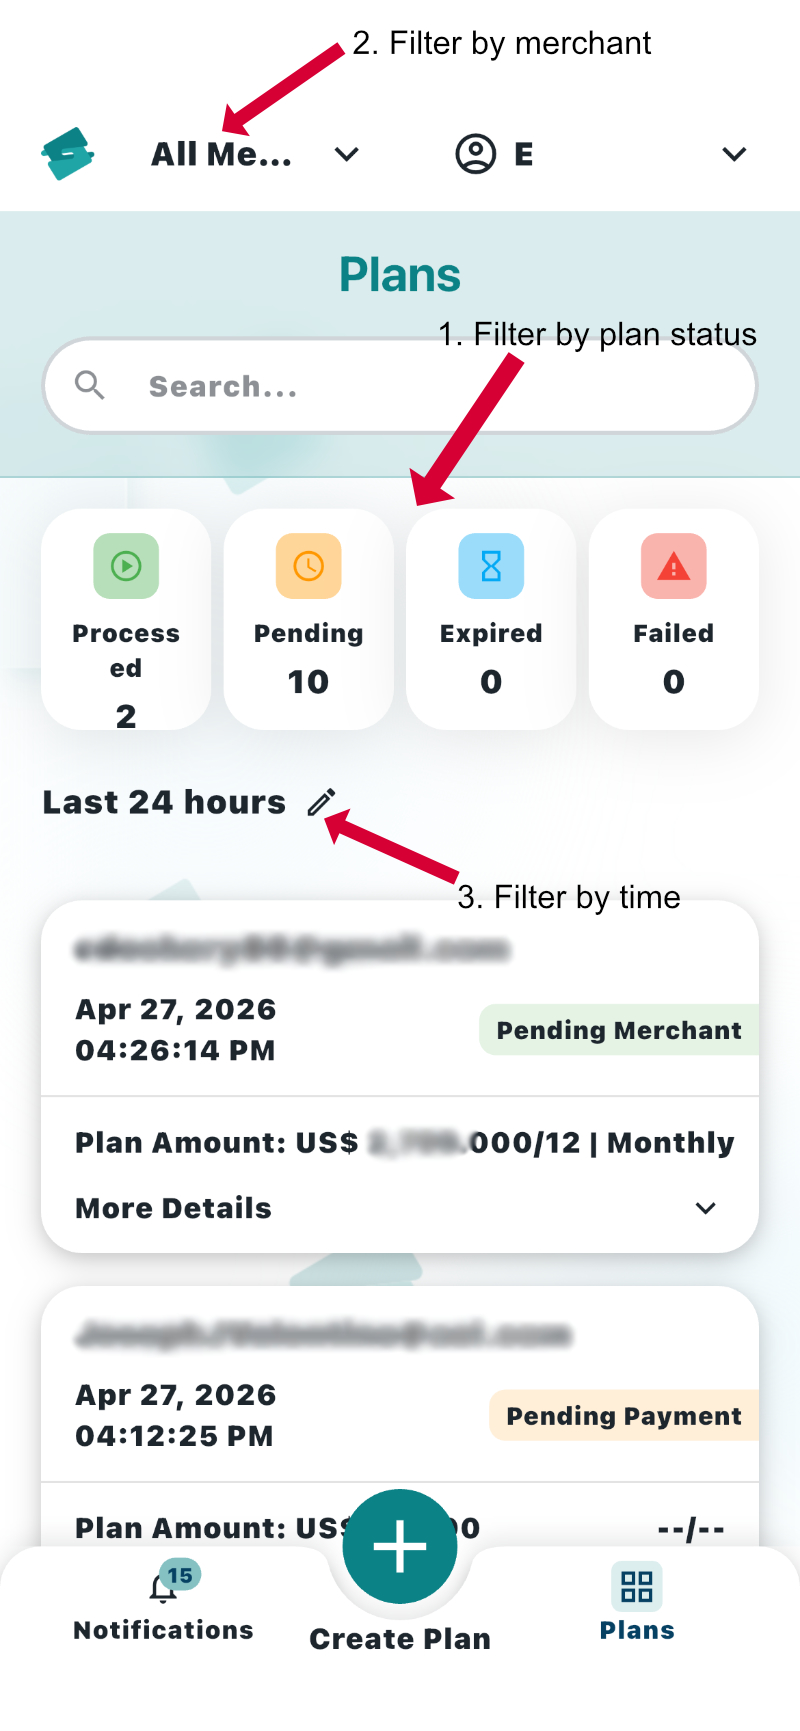
Filtering Plans
You can filter plans on the Plans Management page (Home) by status (1), merchant account (2) and/or time (3).
- To filter by status, click on the status tabs individually or together to select them.
Status Definitions:
- Processed means a plan has been processed, i.e. an active plan whereby the shopper has successfully completed the checkout, and so the installment plan is in progress
- Pending means that a plan has been created and sent to the shopper but the shopper hasn't checked out yet
- Expired means that the plan's payment link was not used within the time limit and has timed out
- Failed means that payment attempts were declined or that they require immediate attention
-
To change merchant, click the dropdown at upper left. Here you can select one merchant (Single Entity) or more than one merchant (Hierarchical) .
-
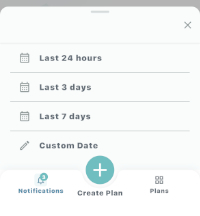
To filter by time, click the pencil icon underneath the status tabs, where you can select the last day, the last three days, the last seven days, or a custom date range using a picker.
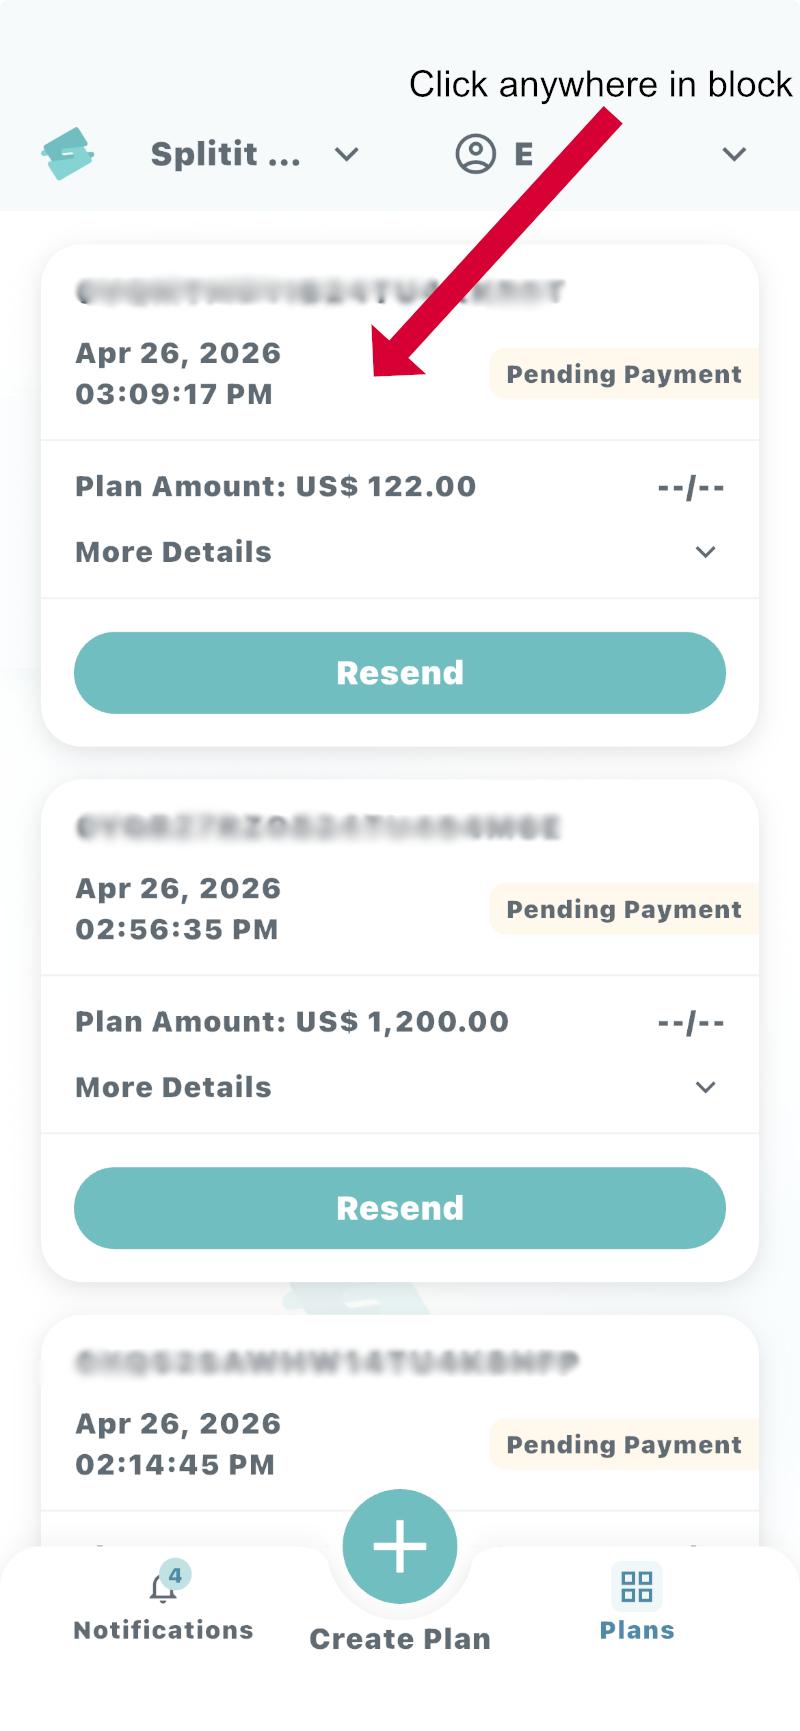
Plan Details
From the Plans Management page (go Home or access Plans tab at bottom of app), click anywhere in an individual plan block to open its details.
The details page differs depending on the status of the plan, whether Processed, Pending, Failed, or Expired:
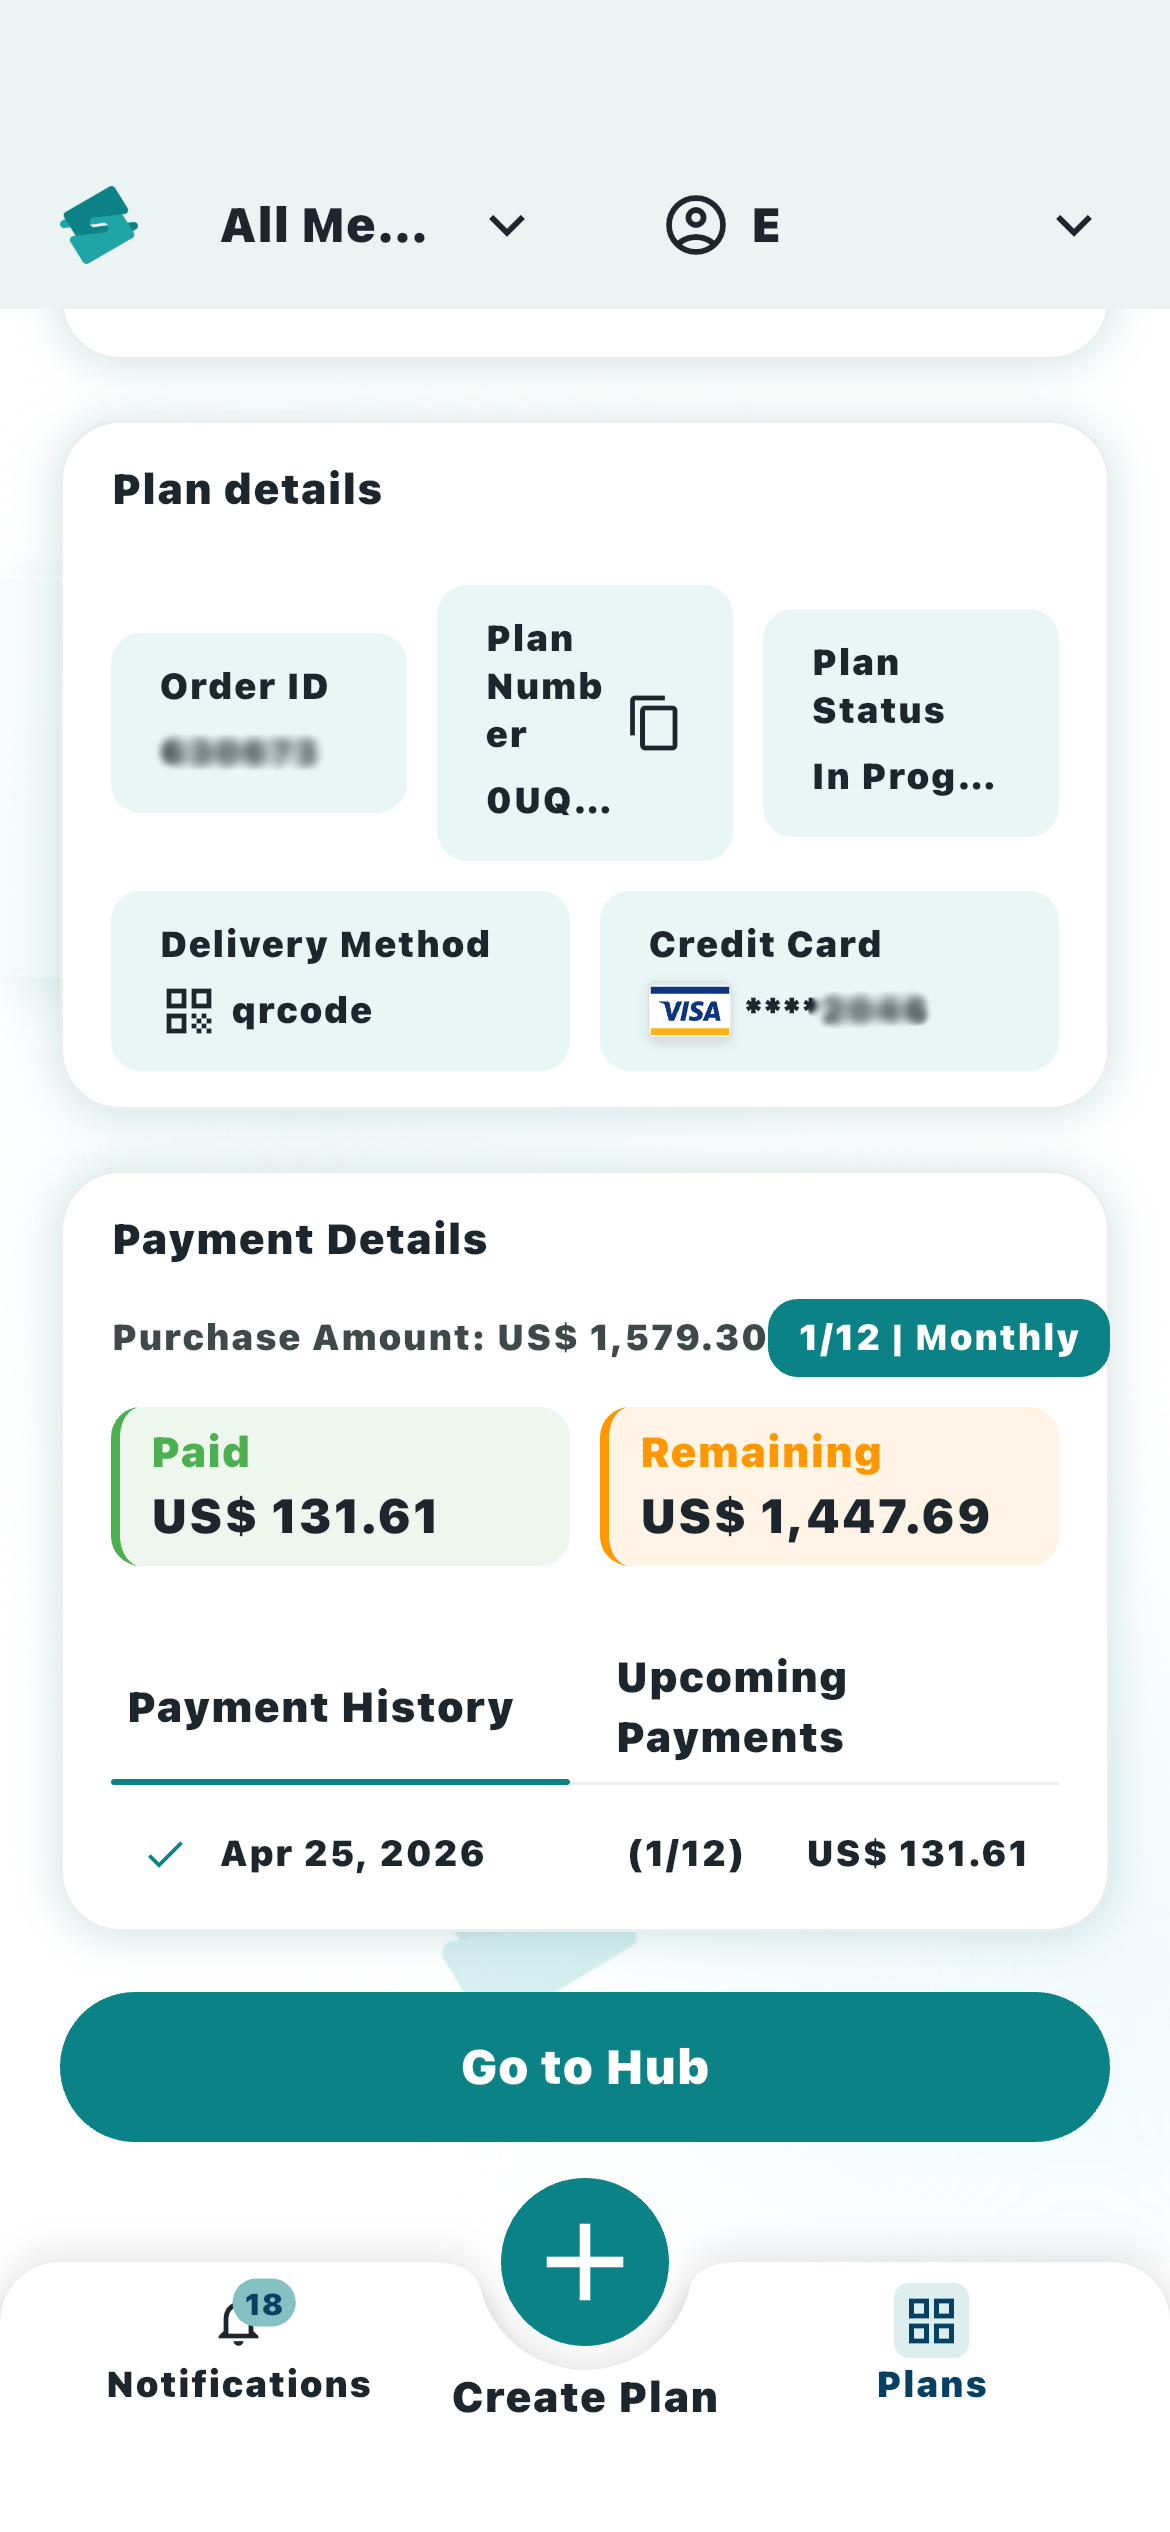
Processed Plans
Processed plans, i.e., the shopper has successfully checked out, have a details page that shows order ID, plan number, the delivery method, as well as card used. It also includes extensive information about installment status, including amounts paid and remaining, the current installment number, as well as Payment History and Upcoming Payments.
Click Go to Hub here to be sent to the Splitit Hub, where you can get even more detailed information about the plan than the Go portal can provide.
Pending Plans
Pending plans (i.e., you sent out information but your shopper hasn't checked out yet, as you can see in the Shopper Tracking panel), have a details page that shows the order id, plan number, the delivery method, as well as purchase amount. Click Resend to send the shopper the plan again (see Resending Plans) or Go to Hub to be sent to the Splitit Hub, where you will get more detailed information about the plan than the Go portal can provide.

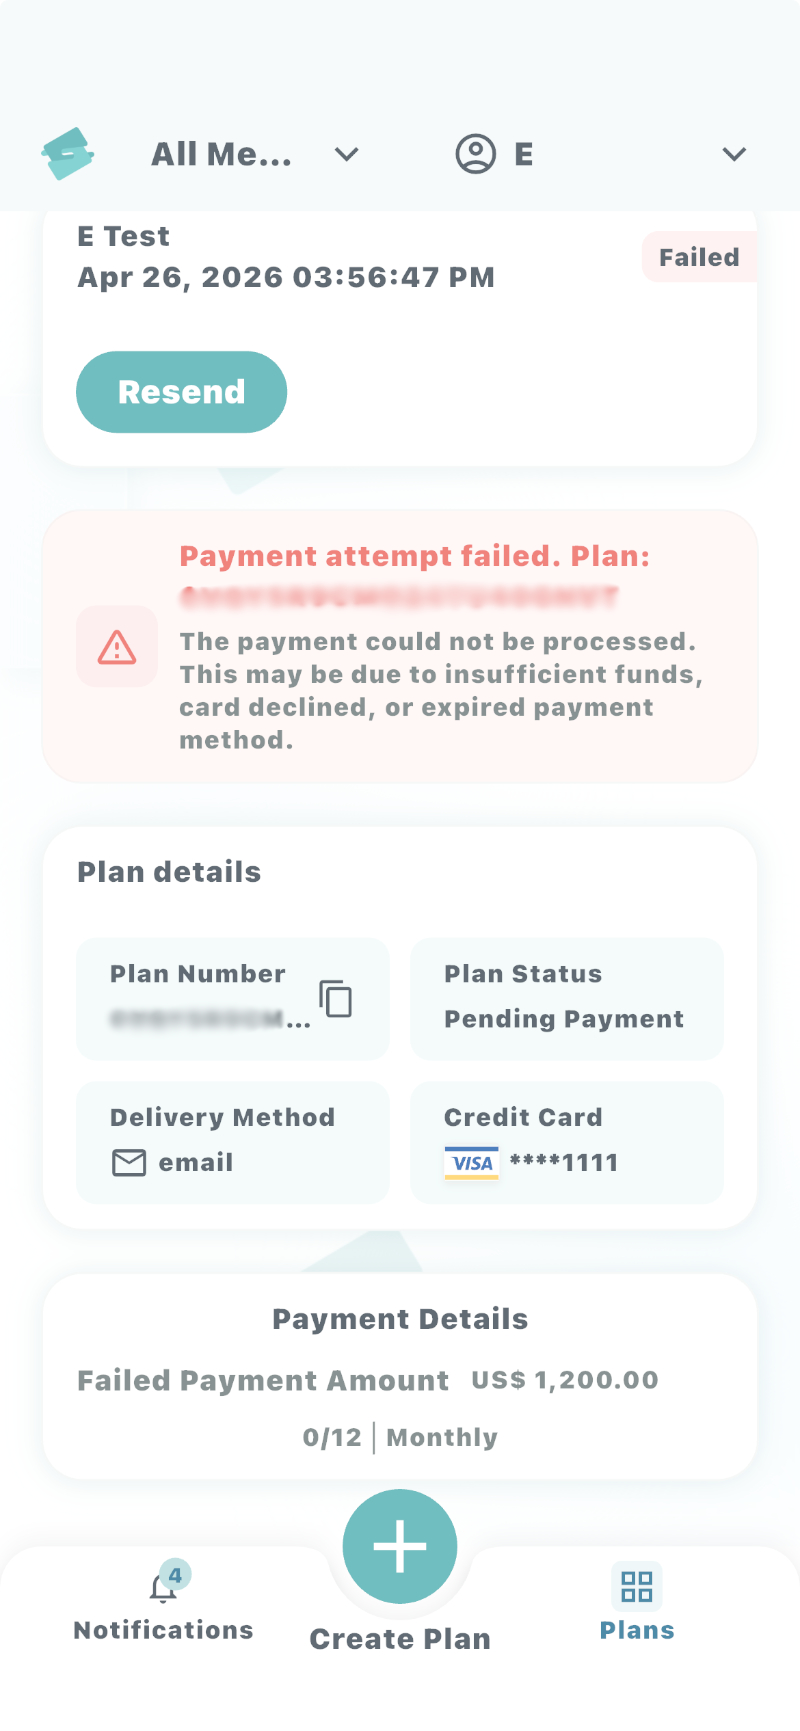
Failed Plans
The details page for Failed Plans shows the failed plan number, the delivery method, the last four digits of the attempted credit card number, as well as the plan amount. Click Resend here to send the shopper the plan again (see Resending Plans).
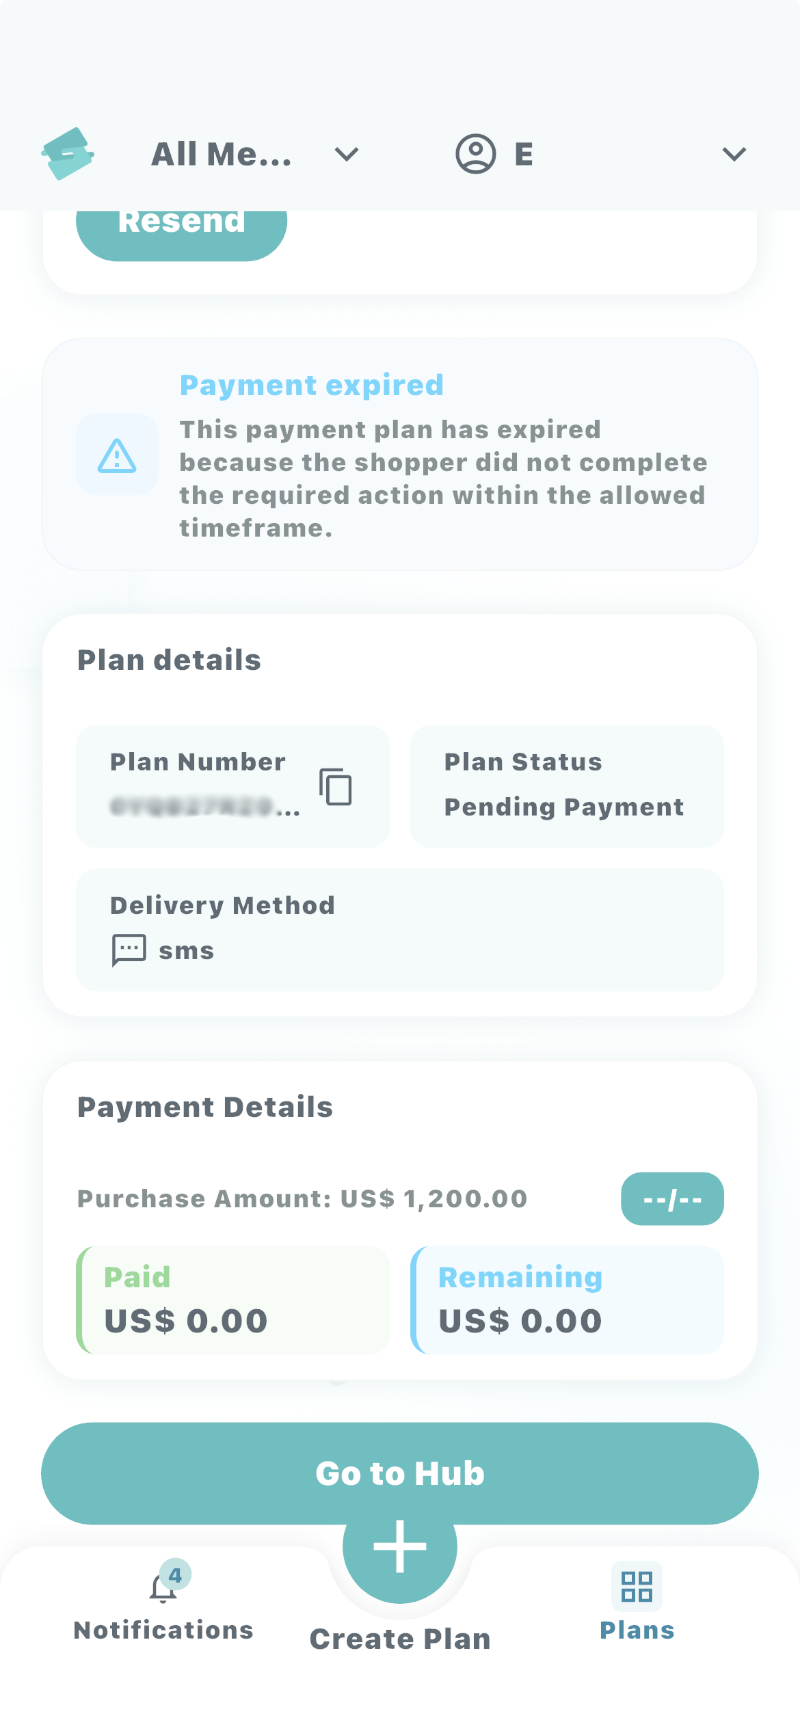
Expired Plans
The Expired Plans details page shows the expired plan number, the delivery method, as well as the intended amount. Click Resend to send the shopper the plan again (see Resending Plans) or Go to Hub to be sent to the Splitit Hub, where you will get more detailed information about the plan than the Go portal can provide.
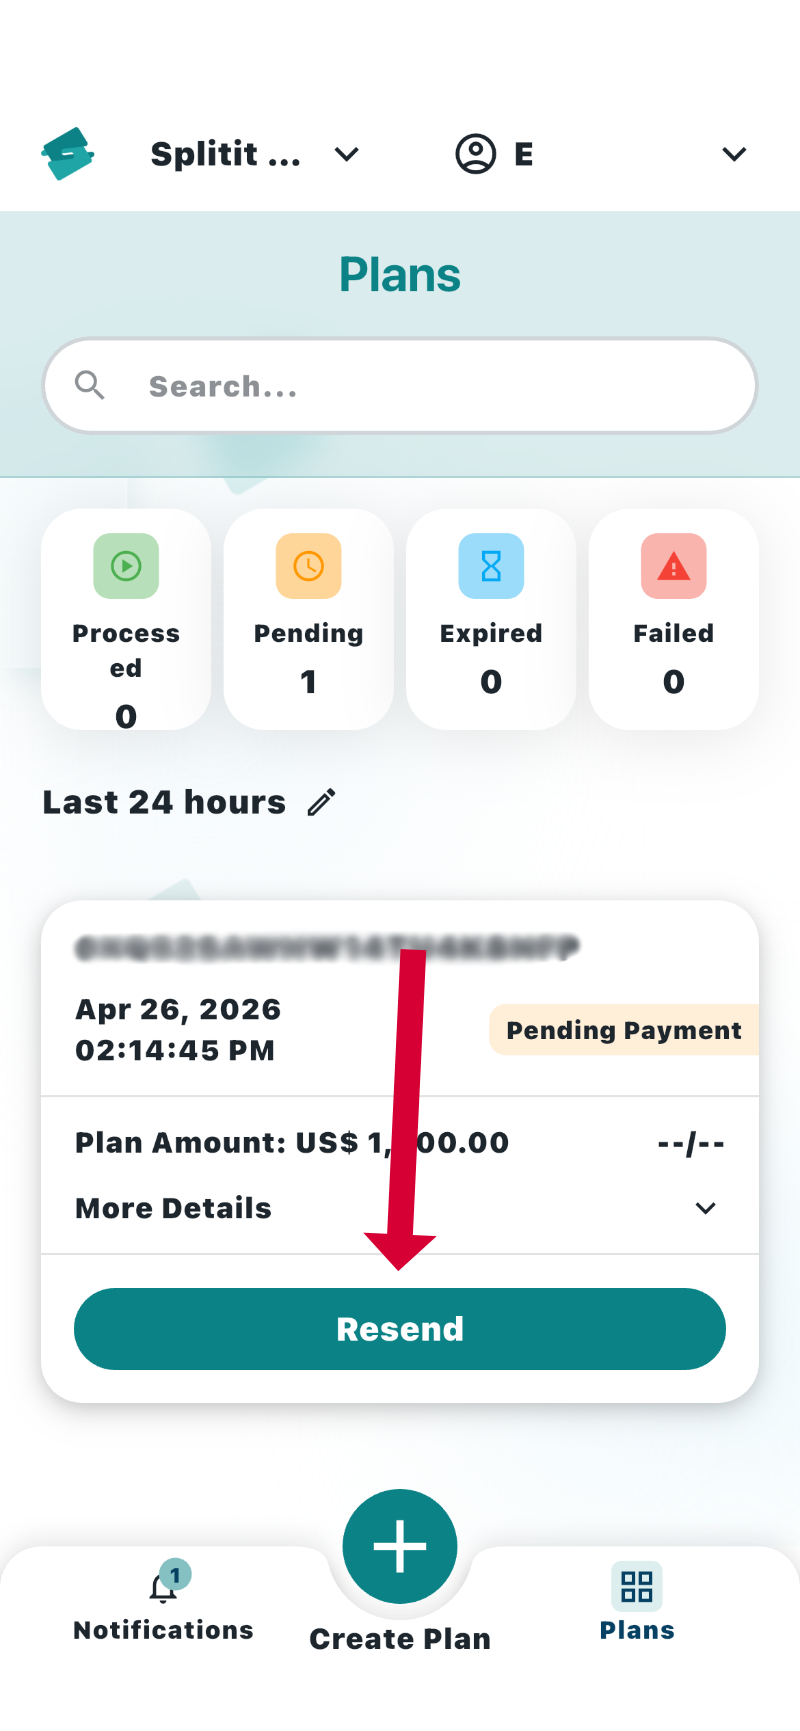
Resending Plans
For any given plan in the list for which the shopper hasn't successfully checked out (i.e., has a state of Pending, Failed, or Expired), you can click its Resend button either from the Plans List (Home) view or from an individual Plan Details view. This lets you send another link to your shopper using the same method you originally used, or potentially a different method.
In the bottom panel that slides up when you click Resend, your action will differ depending on the method you originally used (in all cases, you can also Change Delivery Method by clicking that button).
If you used email
Check the email address (making any corrections), then click Resend Link.
If you used a QR code
View your code again in the right side panel and share with your shopper.
If you used SMS
Check the number (making any corrections), then click Resend Link.
Real-Time Notifications
Notifications keep you continuously updated on all activity related to your Splitit Go account, providing you information about the following, for example:
- Plans that have received successful payments
- Plan payment attempts that failed and thus need immediate attention
- Plans that timed out without a shopper payment attempt
- General plan engagement tracking, such as "Email Delivered" or "Link Opened"
Notifications are pushed out to your phone by default (make sure to allow notifications on your phone from the Splitit app) and may also be viewed by clicking the Notifications tab at the bottom of the app, which will take you to the notifications screen.
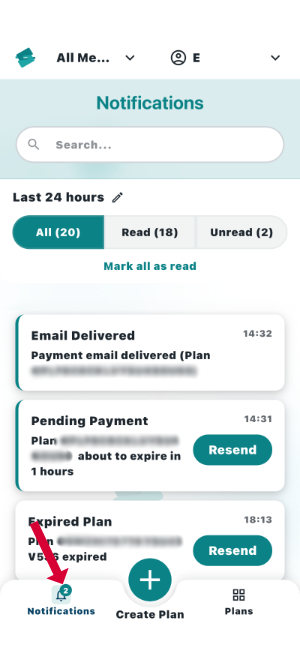
On the Notifications screen you can:
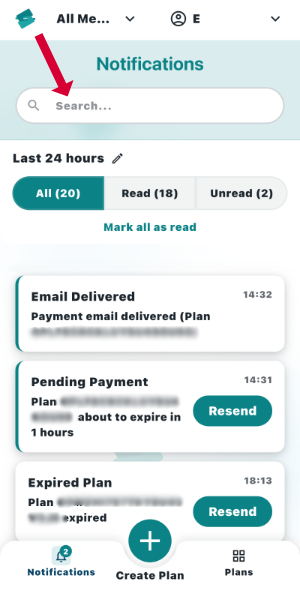
- Search for plan notifications by number or status using the search box:
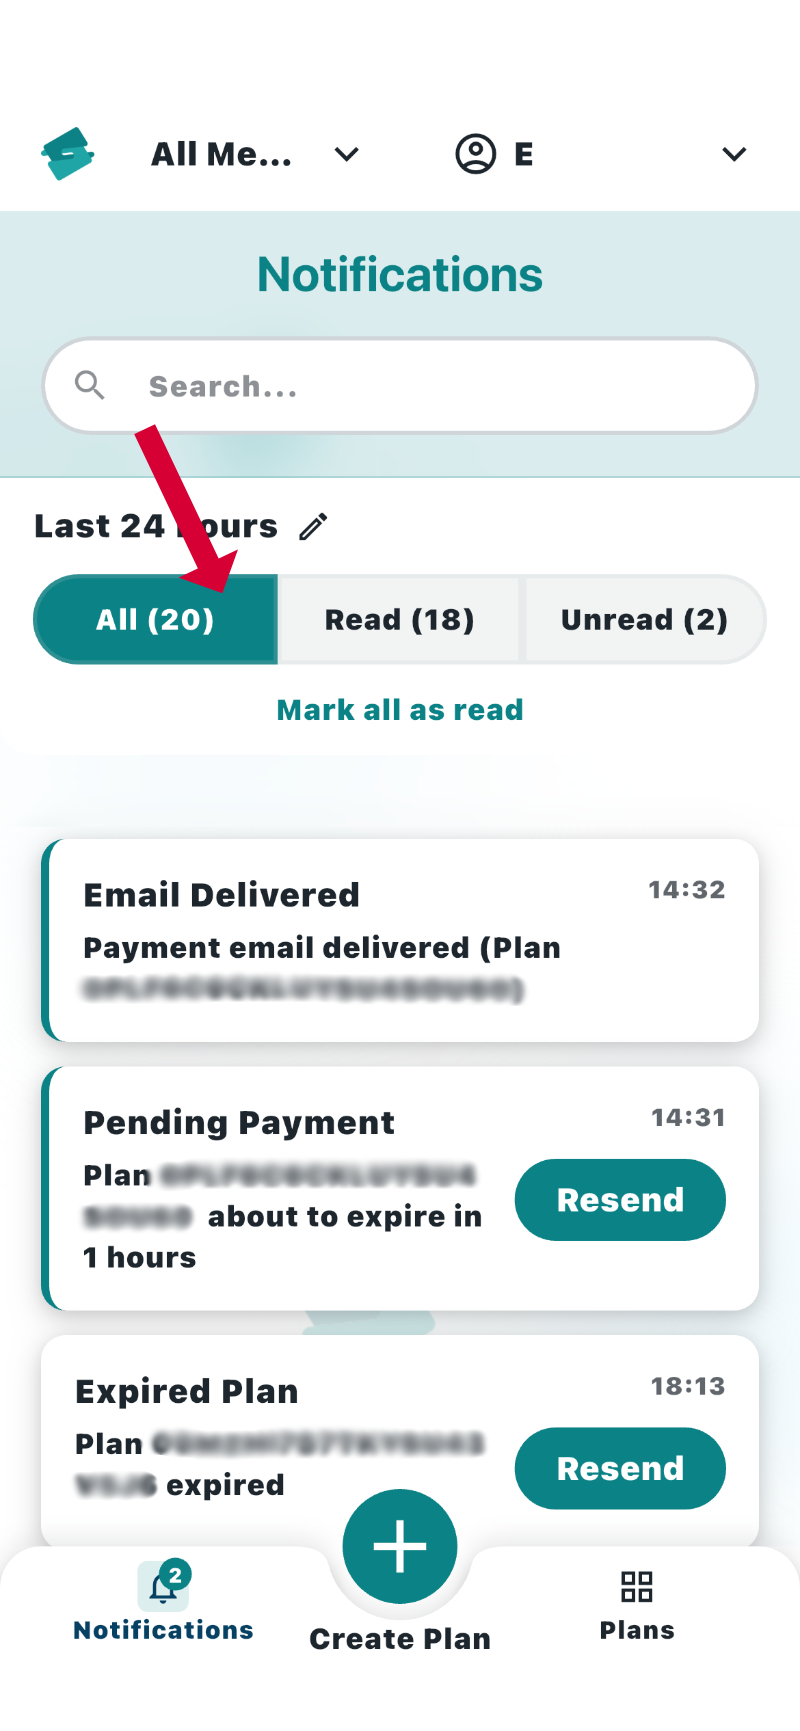
- Filter your notifications by All, Read, or Unread.
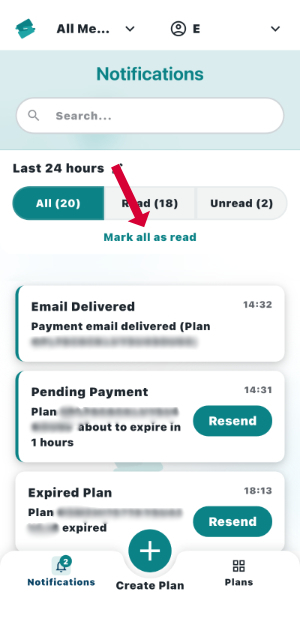
- Mark all notifications as read by clicking Mark All As Read
- Filter notifications by time by clicking the pencil (previous 24 hours, previous three days, previous seven days, or a custom date range using the calendar)